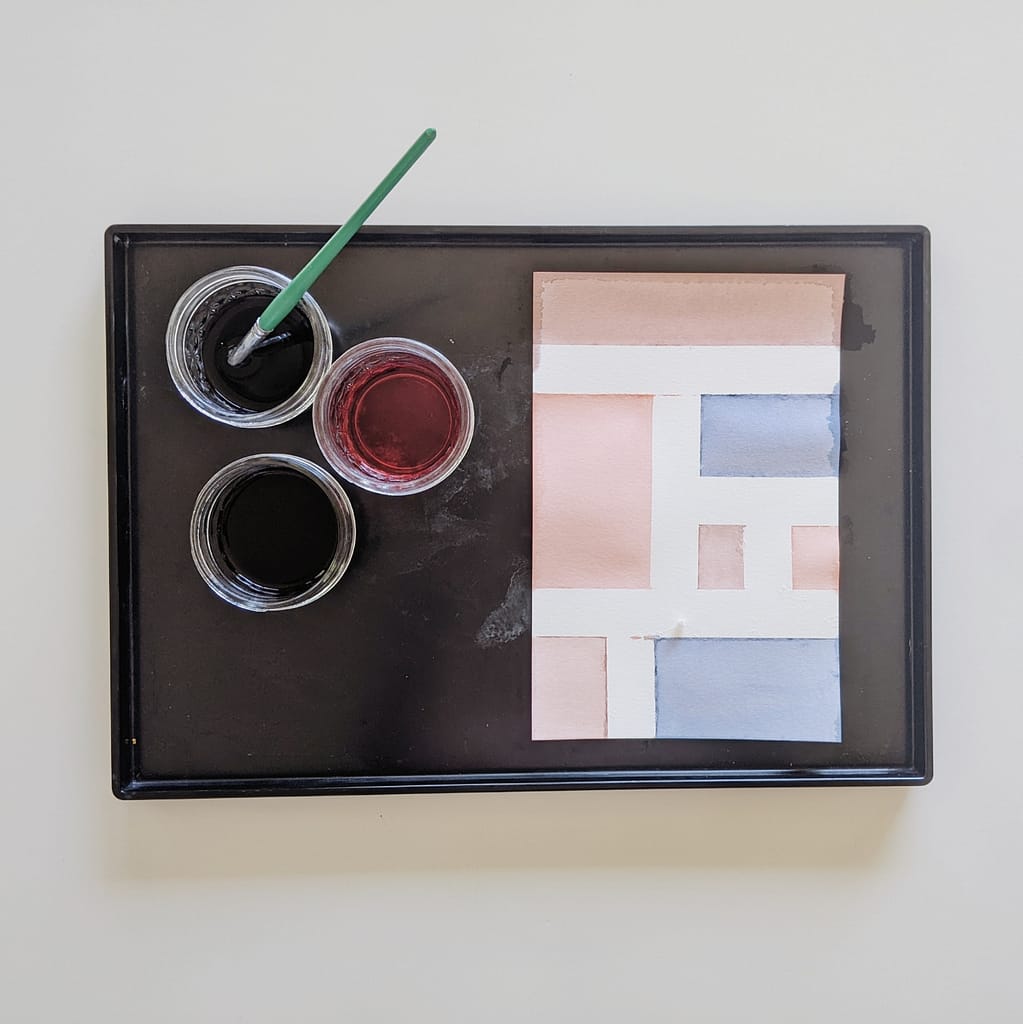
These tape resist paintings will give any artist stunning results – regardless of their age or ability!
Tape resist is one of those art techniques that makes creating a beautiful painting attainable for artists of all ages and abilities.
This is one of my favorite strategies to use with special-needs students. It has allowed me to meet the individual needs of each artist, providing them with an enriching art experience that meets them wherever they are at.
Tape resist is also one of my favorite strategies to use with the youngest of artists. This art technique really draws attention to the painting process.
Here’s how we did this simple (but oh-so-beautiful) painting project.
Supplies:
- Sheet of heavy paper (watercolor preferred)
- Painter’s tape
- Watercolor paint
- Brushes
- Water
- Placemat or tray (optional, but recommended)
Directions:
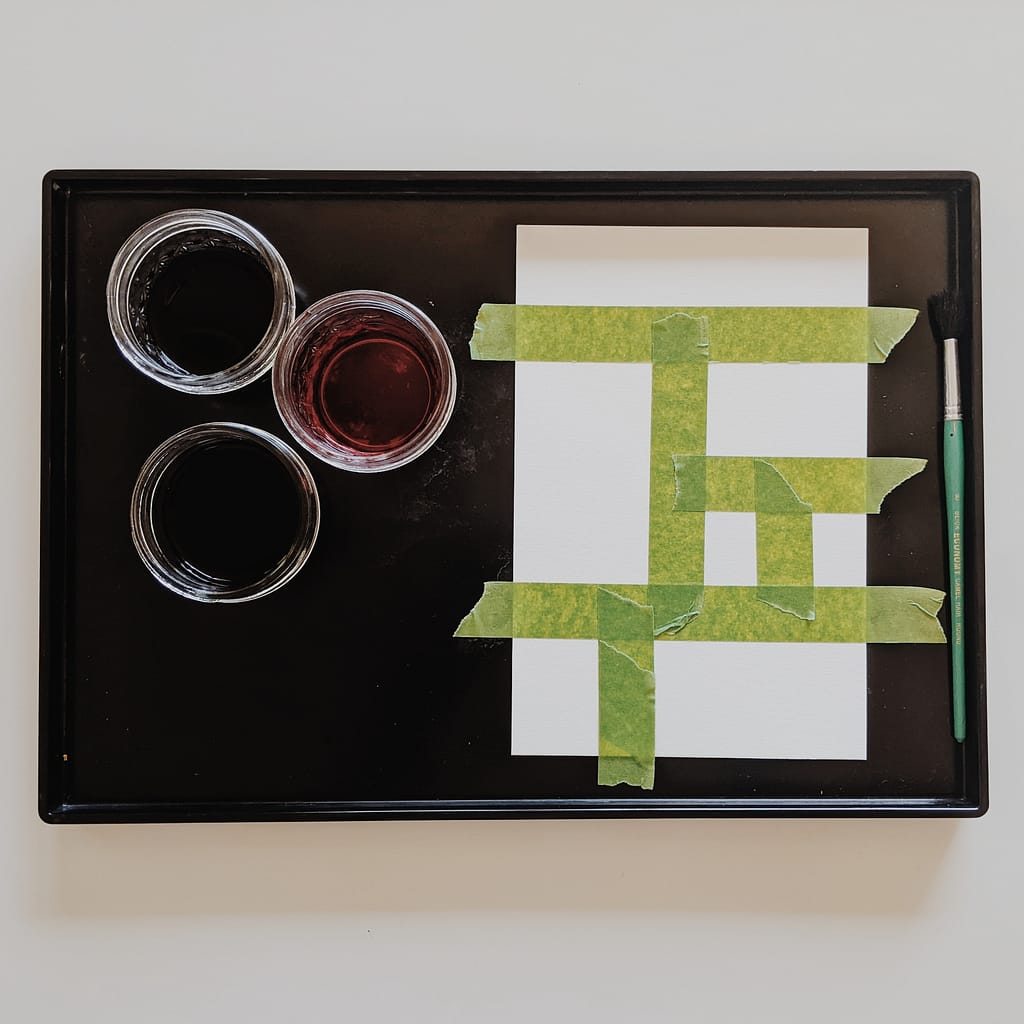
- Use painter’s tape to adhere the four edges of your paper to your tray or placemat.
- Use the tape to create vertical, diagonal, and/or horizontal lines on your paper’s surface.
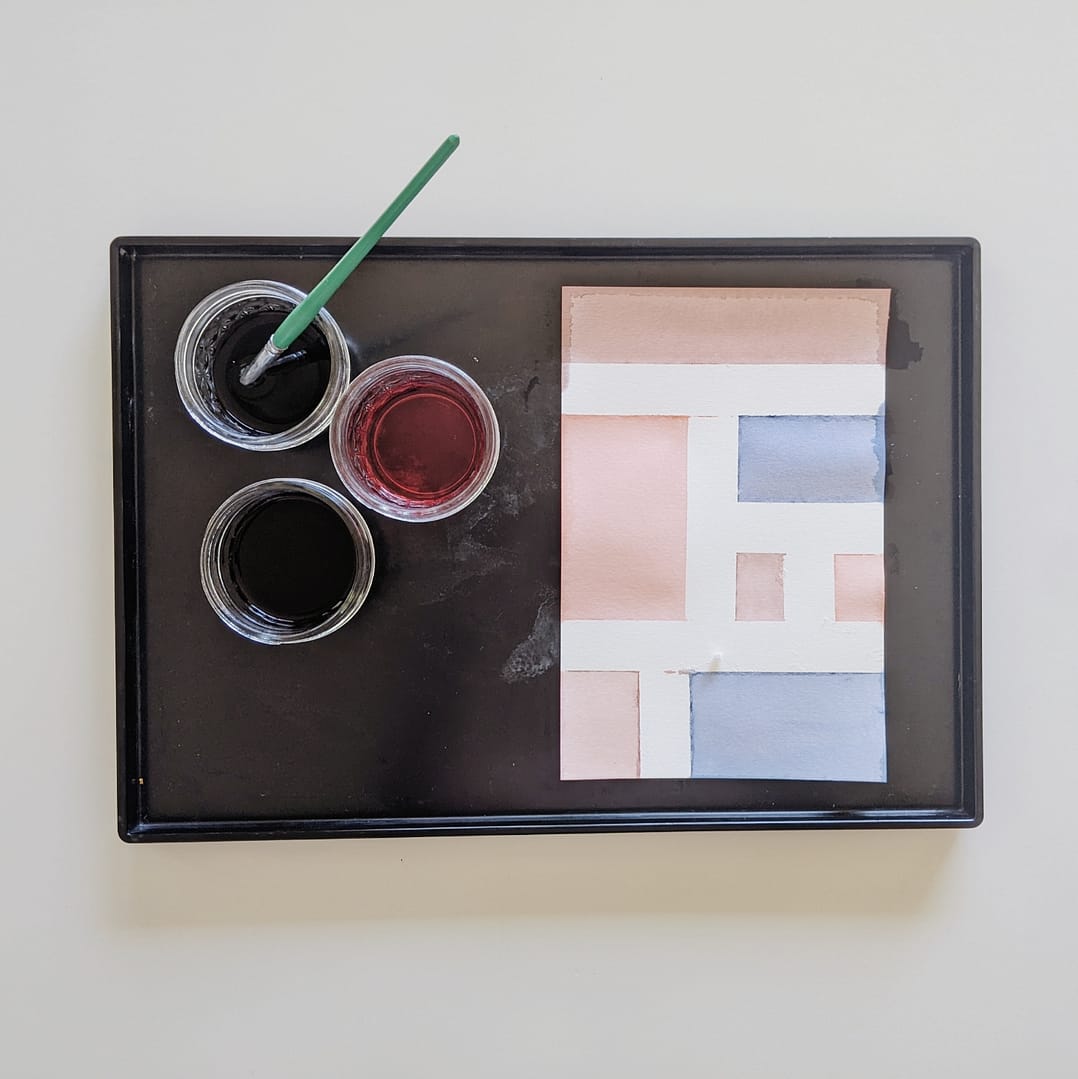
- Use the brush to paint your paper. This is a great time to explore creating textures or mixing colors.
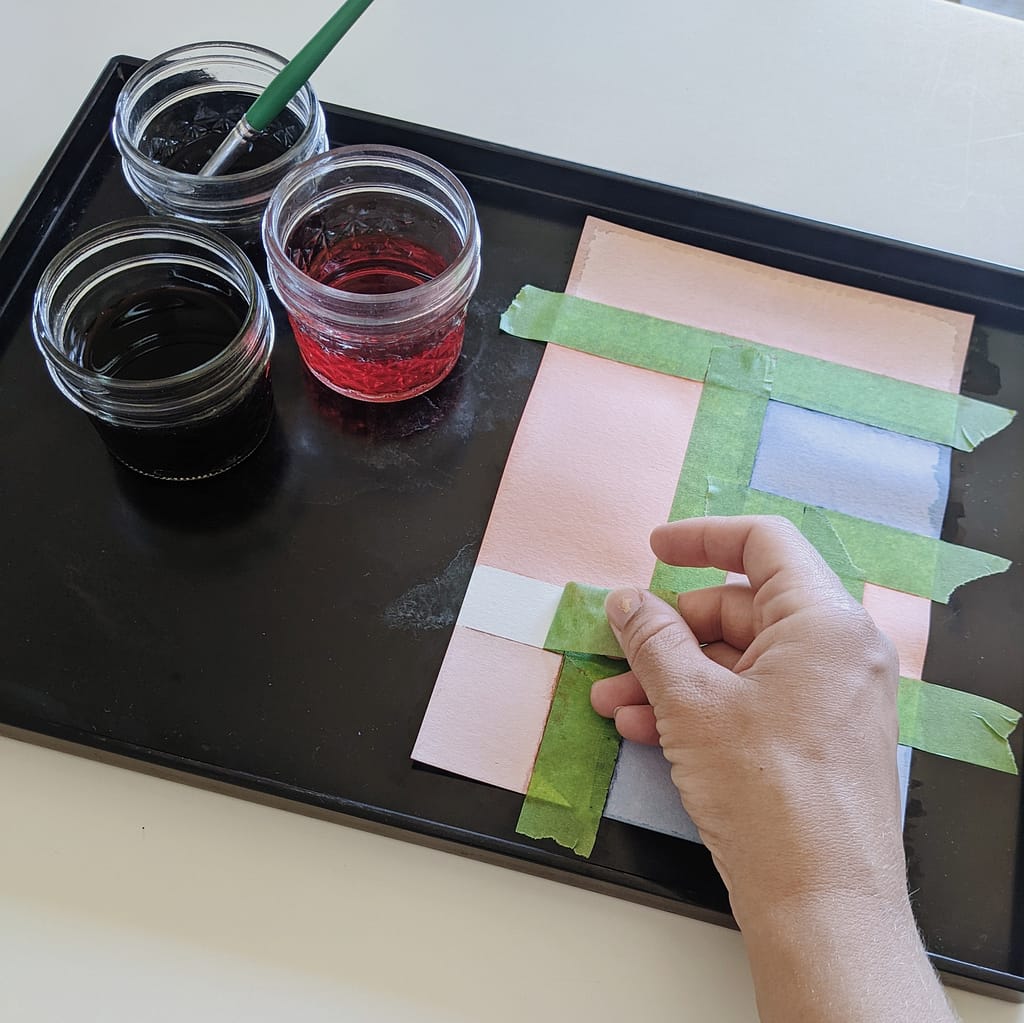
- Allow the paint to dry entirely before carefully peeling away the lines of tape.
Looking for another art project that explores the art element of line? Check out this lesson plan for Line Art Centers. All three activities can be done as centers or as stand-alone art projects.
Need watercolor paint but don’t want to run to the store? Check out this tutorial for DIY watercolor paint. It’s a great way to recycle old washable markers!
Happy painting, friends!
