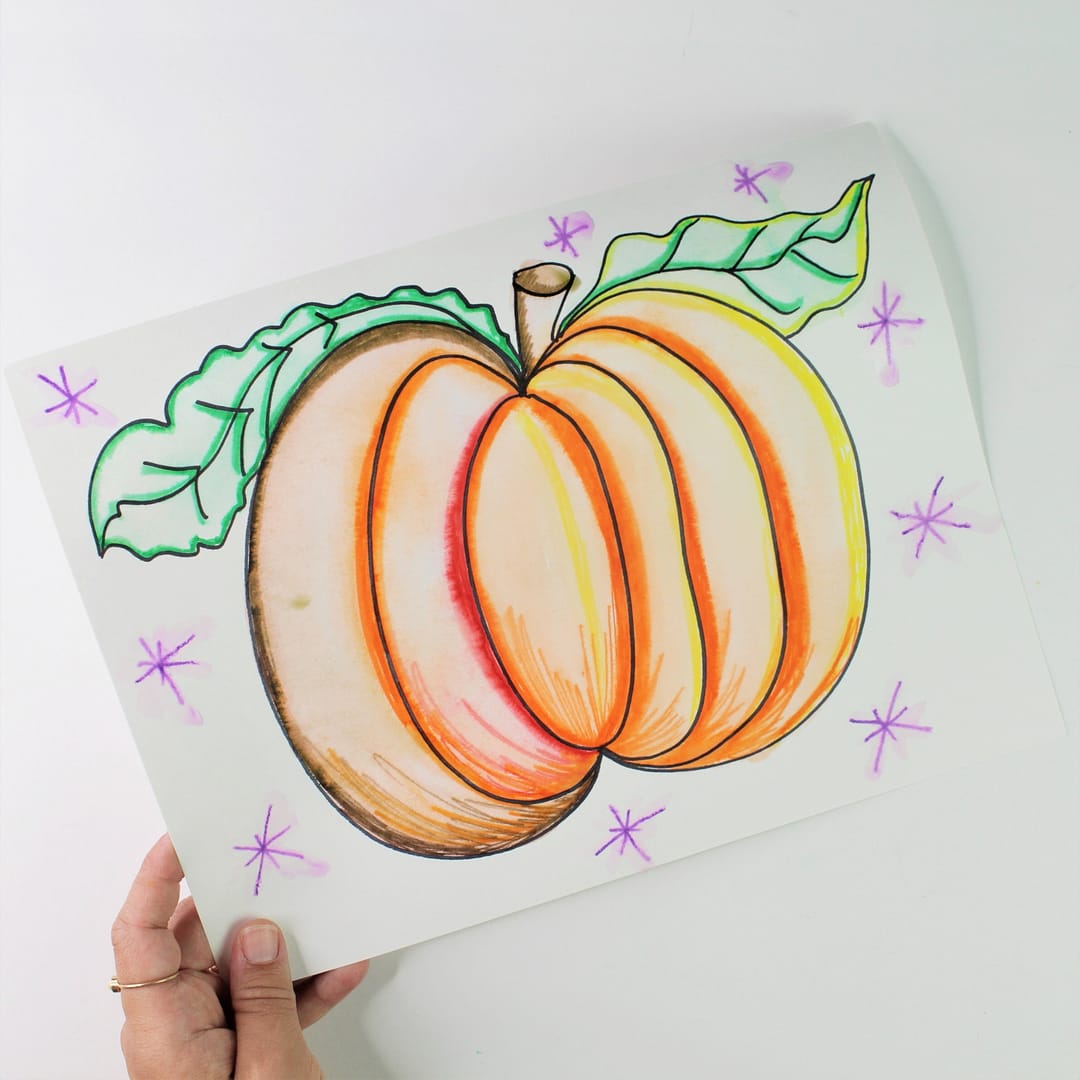
You and your kids will fall in love with this low-mess, low-prep art activity! All you will need for this pumpkin painting is washable markers, a permanent marker, paper, and a brush.
The technique used in this pumpkin painting is pure magic.
Whenever I have used the “marker painting” technique in the classroom, the entire room gets sooooooo quiet you could hear a pin drop. You can feel the artistic energy filling the space. It’s amazing and beautiful.
Here’s how you can make a pumpkin painting using this easy technique.
Supplies:
- A sheet of thick drawing paper (copy paper will not work!)
- A permanent marker
- A placemat (optional, but recommended)
- Washable markers
- A paintbrush
- A dish of water
Directions:
- Use a permanent marker to draw the outline of a pumpkin on your drawing paper. You may want to put a placemat underneath your paper to keep the permanent marker from leaking through.
- Use the washable markers to slowly outline just inside of your line drawing. It is very important to only outline your drawing, rather than fully color it in.
- Put away your markers.
- Dip a paintbrush into water and apply the water to your washable marker in a controlled way. The water will transform the marker into paint. A little bit of water goes a long way!


If loved this technique and want more of it, check out this Garden Painting project or this Bamboo Forest Painting Inspired by Chinese Artist Qi Baishi.
Happy painting!
