This autumn art project for kids is a beautiful way to introduce the mathematical concept of pattern.
Do you remember printmaking with apples as a kid?
I think the first time I printed with apples was when I was in kindergarten and had seen it on a tv show. As a kid, it was magical to cut open an apple and notice the star-like design in the center. It was even more magical to learn how easily I could transfer the image of an apple onto a sheet of paper.
Printing with apples is a classic autumn art activity. It not only introduces the art technique of printmaking to little ones, but the mathematical concept of pattern as well.
Here’s how you can do it at home.
Supplies:
- Cutting board
- Knife*
- Apple
- Fork (optional, but highly recommended)
- Washable paint in 2-3 colors
- Paper plate or plastic lid for each color of paint
- Sheet of paper
- Placemat (optional, but highly recommended)
*As with all projects posted on my blog, this project should be done under the supervision of a trusted adult
Directions:
- Use the knife to carefully cut your apple in half.
- Flip your apples so that the skin-side is facing you. Stick a fork into each apple half.
- Squeeze a dollop of paint onto each plate/lid.
- Set an apple half on each plate/lid and coat the interior-side of the apple with paint.
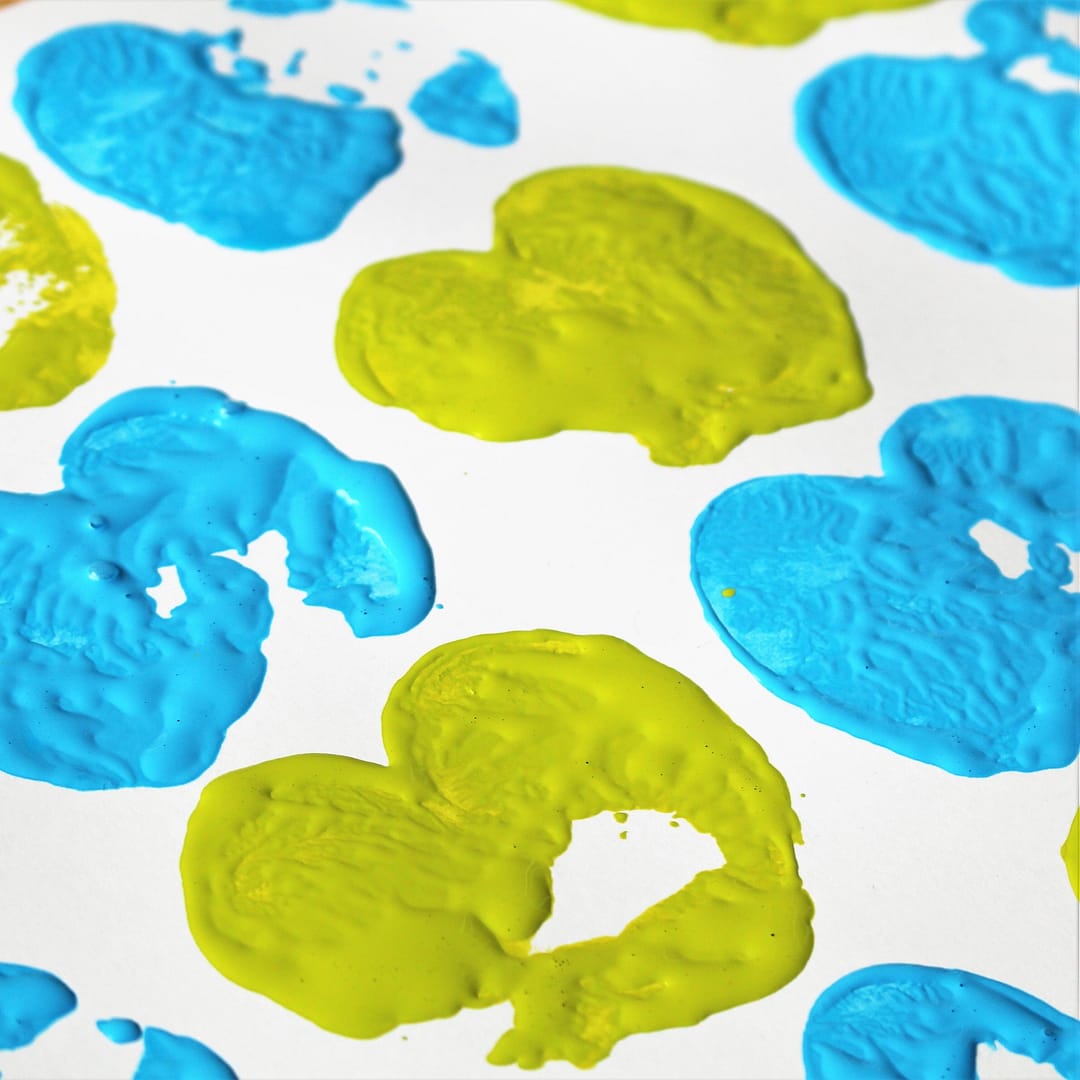
- Stamp an apple half down onto your sheet of paper. The fork helps reduce mess when printing, but if there is any trouble getting your apple to print evenly just use your fingers to apply additional pressure.
- Reapply paint to your apple half and continue printing onto your sheet of paper to fill the space as desired. When printing apples, you can create a pattern for added interest.


If you are looking for another printmaking project to try with your kids, check out these Cardboard Line Prints or these easy Firework Prints.
Happy printing!
