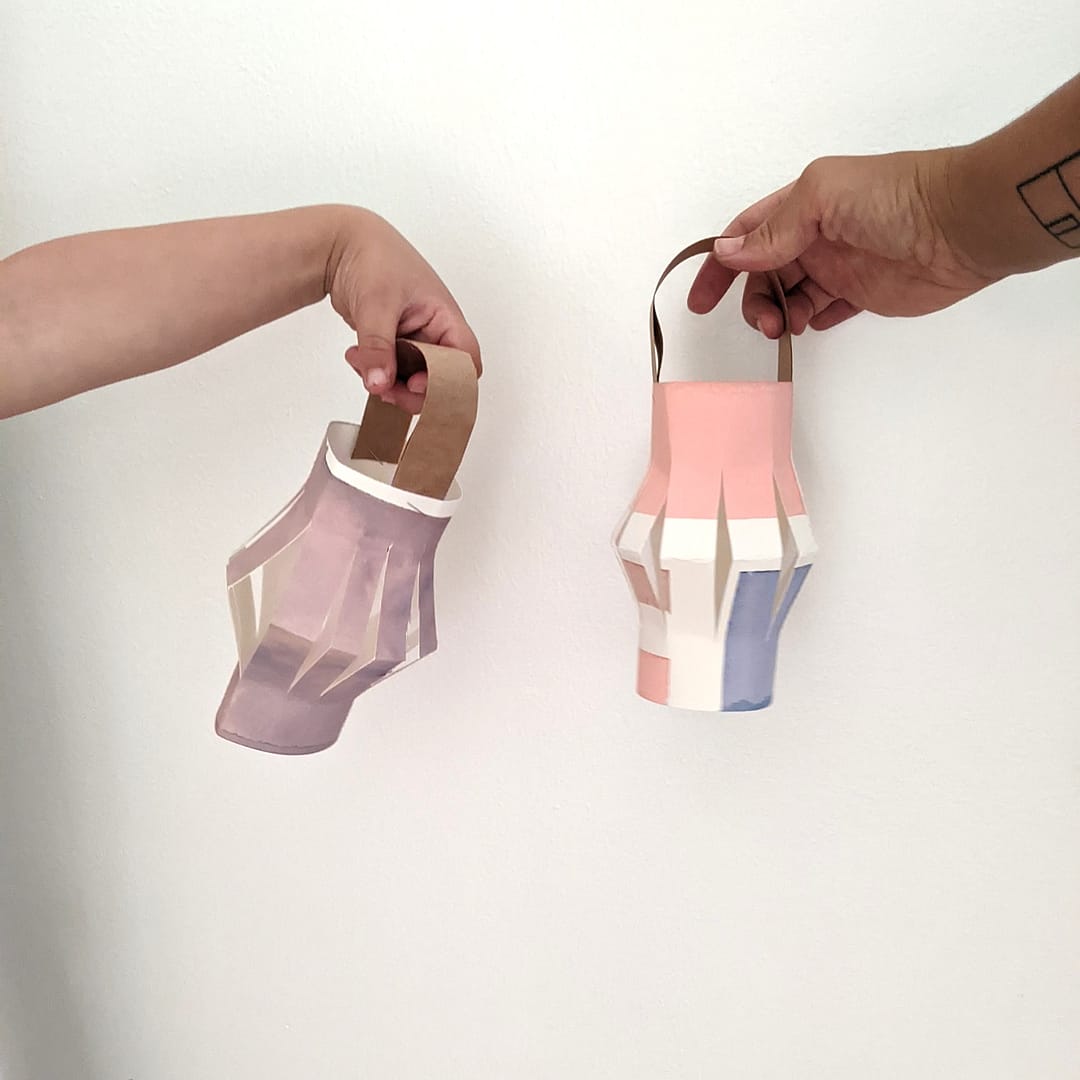
Celebrate the light during these dark winter nights with paper lanterns!
The nights have been long around here lately, so what a perfect time to celebrate all that is light! We created paper lanterns to house our electric candles – and they are so delightfully cozy.
These lanterns are not only cozy, but are a great way to reuse any leftover paintings you may have from past projects.
Here’s how we made these easy paper lanterns.
Supplies:
- Sheet of paper (we used leftover watercolor paintings)
- Scissors
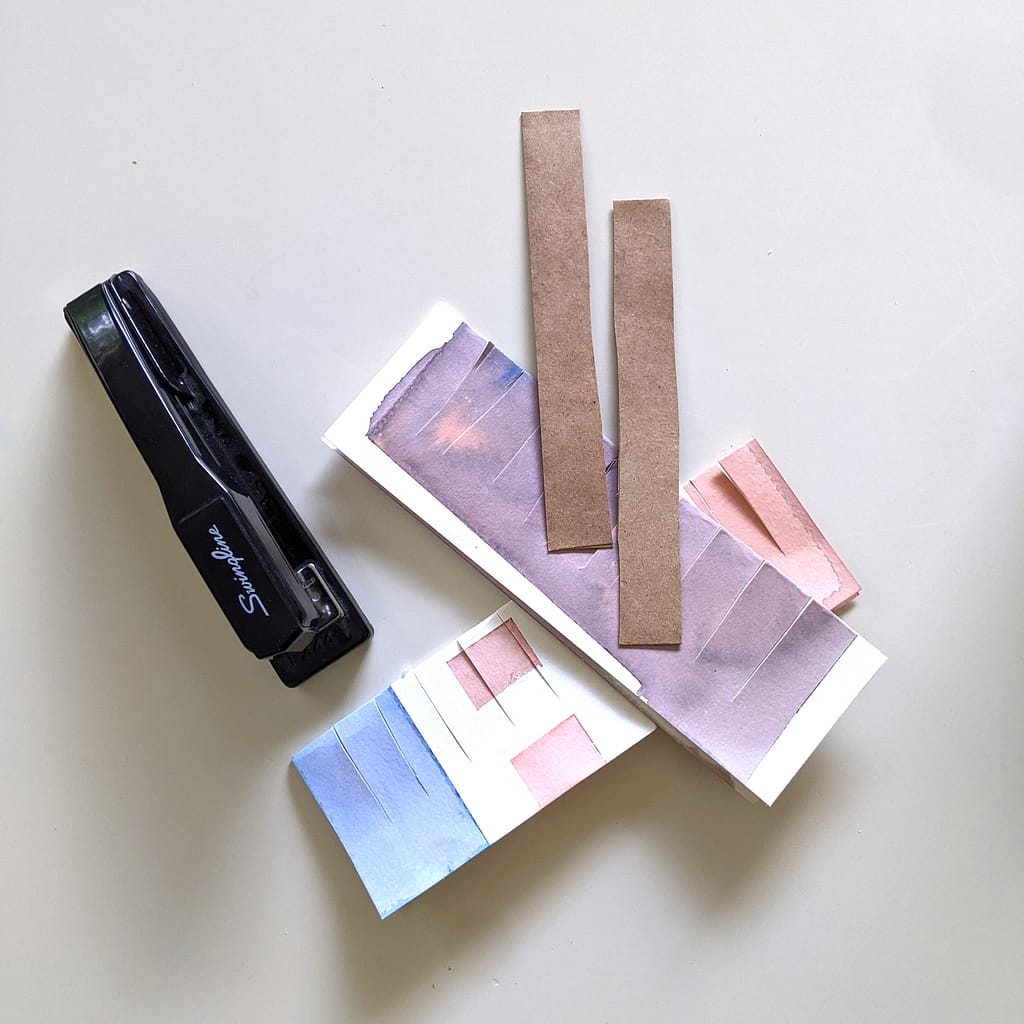
- Stapler or roll of tape
- 1″x 8″ strip of paper
Directions:
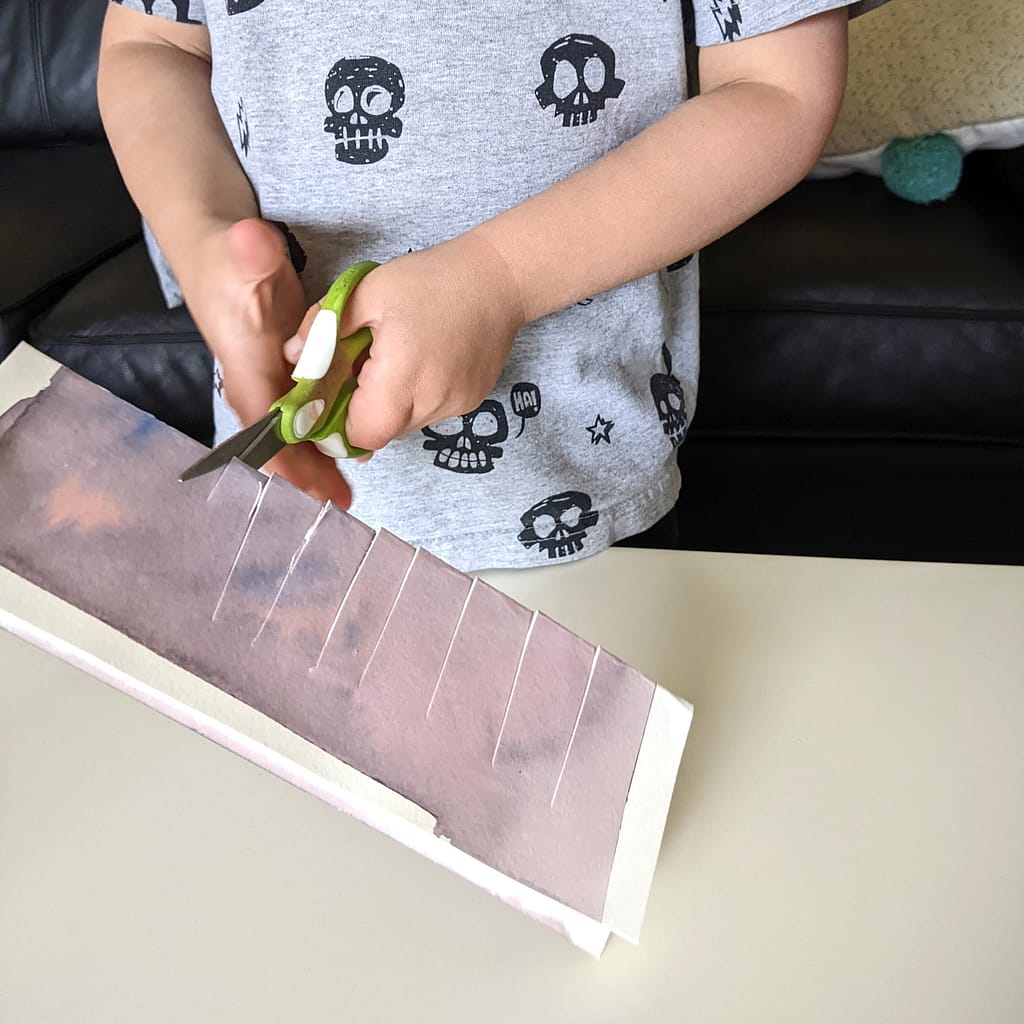
- Fold your sheet of paper in half. Make sure the crease is strong and that the side you want showing is facing out.
- Use scissors to make a series of cuts along the fold. The cuts should go about 1″ from the long edge of your paper and be about 1″ apart.
- Unfold your paper. Match up the short ends of the paper. Then staple or tape into place.
- To alter the form of your paper lantern, push down gently on the tops and bottom rims of the lantern.
- Attach the paper strip to your lantern for a handle with staples or tape.


Looking for another craft to celebrate light during these dark winter days? Check out this blog post on creating ice lanterns.
Needing more low-prep activities to celebrate the winter season? Check out this activity pack with activities to celebrate the winter solstice.
Happy creating, friends!
