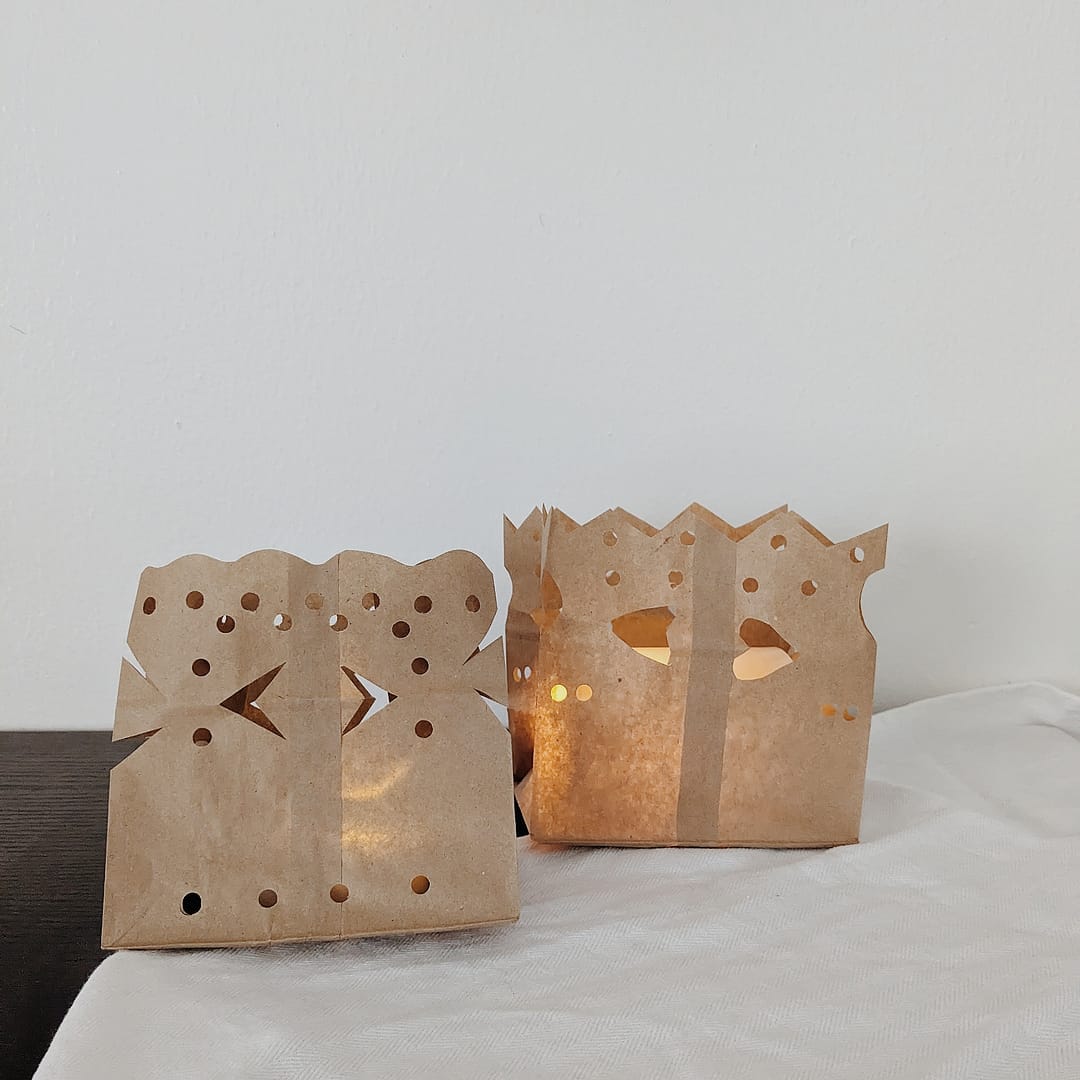
Celebrate the light with these incredibly simple and beautiful paper bag luminaries!
These paper bag luminaries are pretty. Like, really pretty.
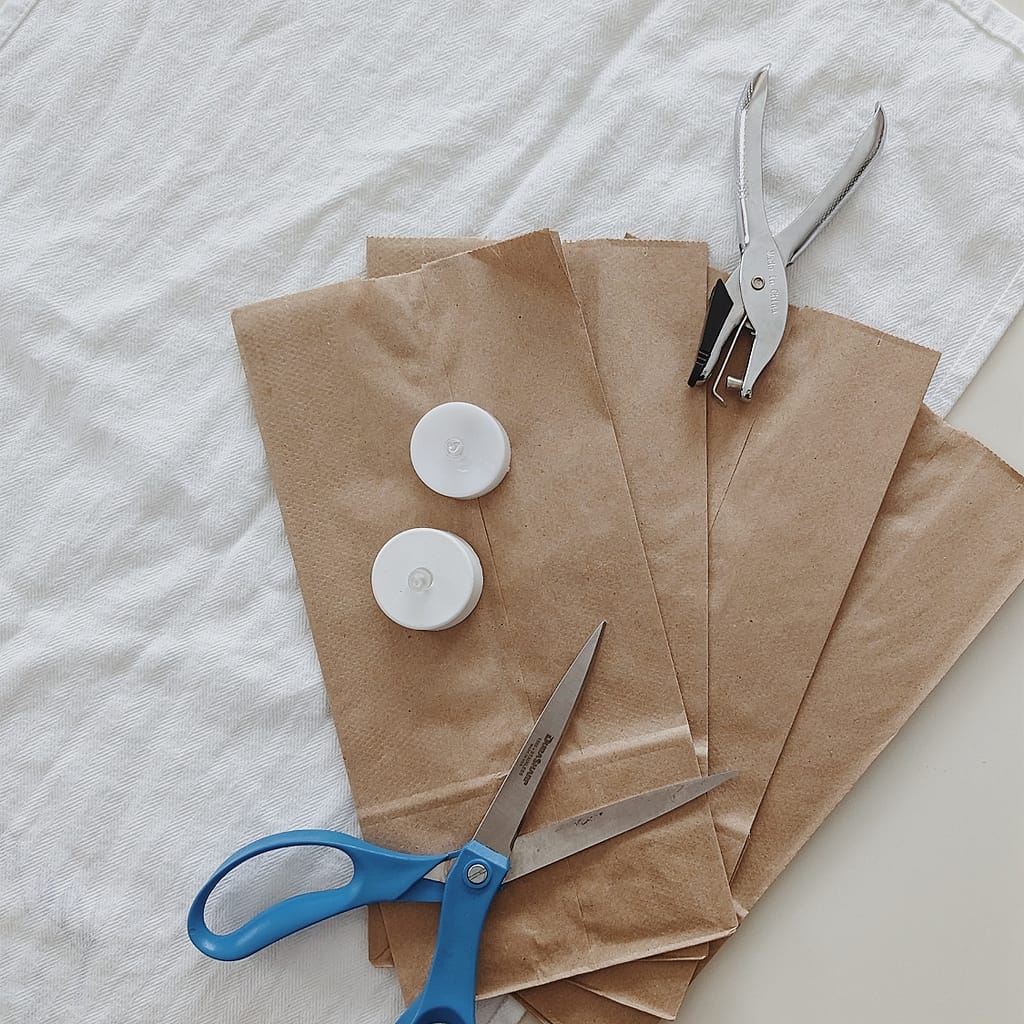
They are also pretty simple. All you need for this cozy craft is a paper bag, hole puncher, scissors, and an electric candle.
This cozy craft is just what you need for your space, and is an amazing activity to build children’s fine motor skills. The tasks of punching holes and using a pair of scissors develops hand-eye coordination and the hand muscles.
Here’s how we made these paper bag luminaries.
Supplies:
- Paper lunch bag
- Scissors
- Hole punch
- Electric candle
Directions:
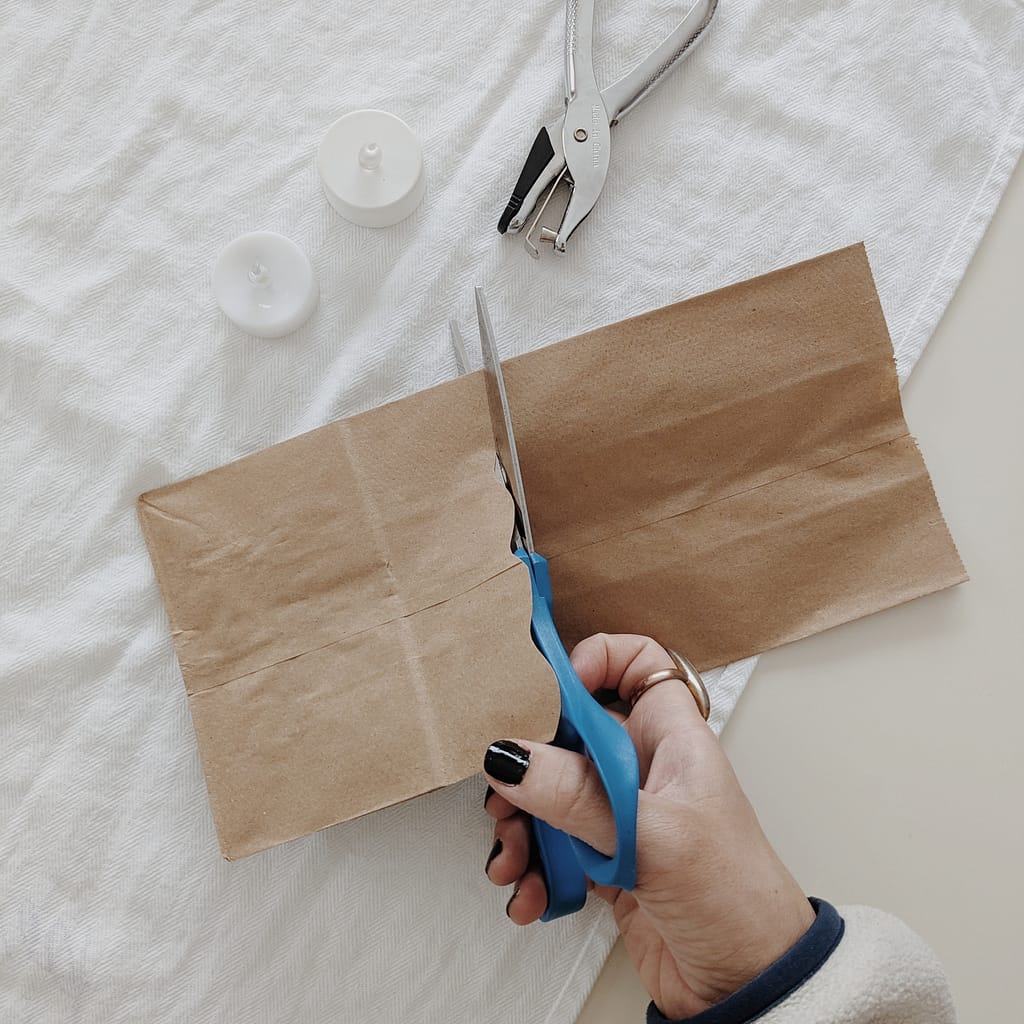
- Keeping your paper bag unopened, use your scissors to trim paper off the top of the bag. You can add interest to your luminary by using your scissors to create a wavy or zig-zag line.
- Still keeping the bag unopened, use scissors and/or your hole punch to cut designs into your bag.
- Open your paper bag, and place an electric candle in your luminary.
- Enjoy your cozy craft!


Looking for another art project for kids that uses paper bags? Check out this tutorial for Paper Bag Nature Journals. These cute little journals can be filled with texture rubbings, bits of poetry, sketches, pressed flowers, observation notes, or quotes.
Looking for another three-dimensional art activity to do with kids? Check out this Pinch Pot lesson plan. These pinch pots can either be created with earthenware clay or model magic. Plus, its a great introduction to the artist Maria Martinez!
Happy creating, friends!