This forest-school inspired printmaking project is a beautiful way to explore the natural textures of mushrooms and experiment with pattern and shape!
Mushroom prints? Using actual mushrooms?
Yes!
This forest-school inspired printmaking project is a beautiful way to explore the natural textures of mushrooms. It’s also a great way for kids to experiment with pattern and shape.
All you need for this project is mushrooms, paint, and paper.
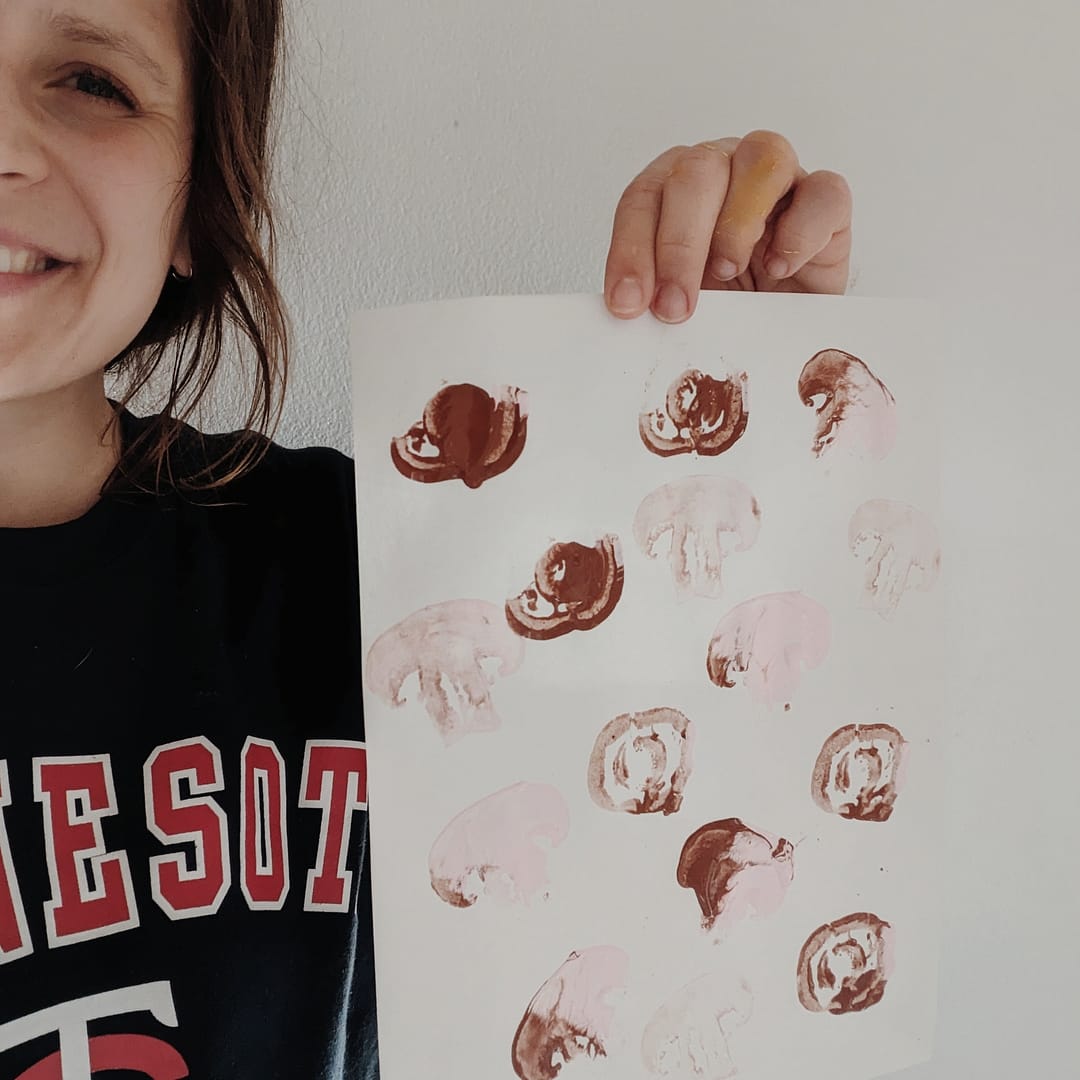
Here’s how we made these mushroom prints.
Supplies:
- Mushrooms
- Knife
- Paper plate or tray
- Placemat (optional, but recommended)
- Washable tempera paint, in 2-3 colors
- Construction paper in a color of your choice
Directions:
- Use the knife to carefully cut your mushrooms. It can be nice to have a variety of shapes to use for your print.
- Squeeze a dollop of each color of paint onto your tray or paper plate.
- Dip your mushroom piece into the paint.
- Stamp your mushroom onto your sheet of paper.
- Reapply paint to your mushroom pieces and continue printing onto your sheet of paper to fill the space as desired.


Searching for more activities for your kids to explore the art element of texture? Check out this Texture Activity Pack for kids. The 5 activities included in this packet each take 15-30 minutes to complete and are focused on the art element of texture.
Looking for another mushroom-themed art project? Check out this tutorial for creating mushroom prints with paper rolls. All you need for this easy art project is paint, paper, and toilet paper rolls!
Happy creating, friends!