A less-mess painting project to teach your children about shape and negative space!
This project would be a great way to celebrate Valentine’s Day (hello, hearts!) or International Dot Day.
Here’s how we did these negative shape paintings.
Supplies:
- Sheet of drawing paper (I recommend 12”x18”)
- Square of construction paper
- Scissors
- Masking tape or painter’s tape
- Dot paint markers
Directions:
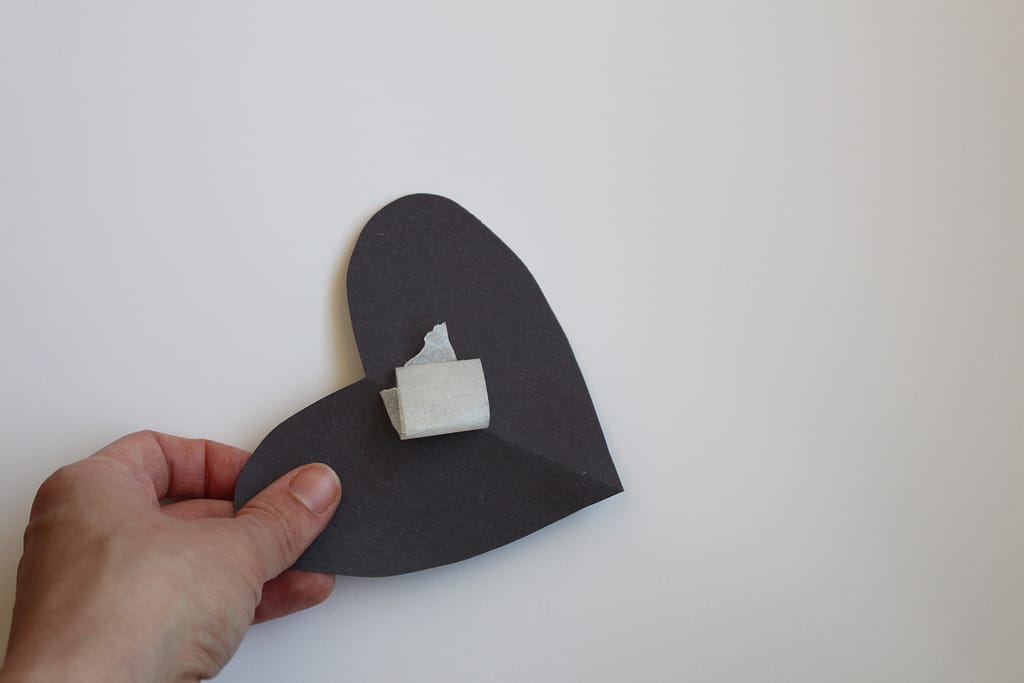
- Use scissors to cut a shape of your choice from the construction paper.
- Use a loop of masking tape to attach the construction paper shape to the center of your drawing paper. Note that this shape will be removed once you are done painting, so it doesn’t have to be attached very tightly.
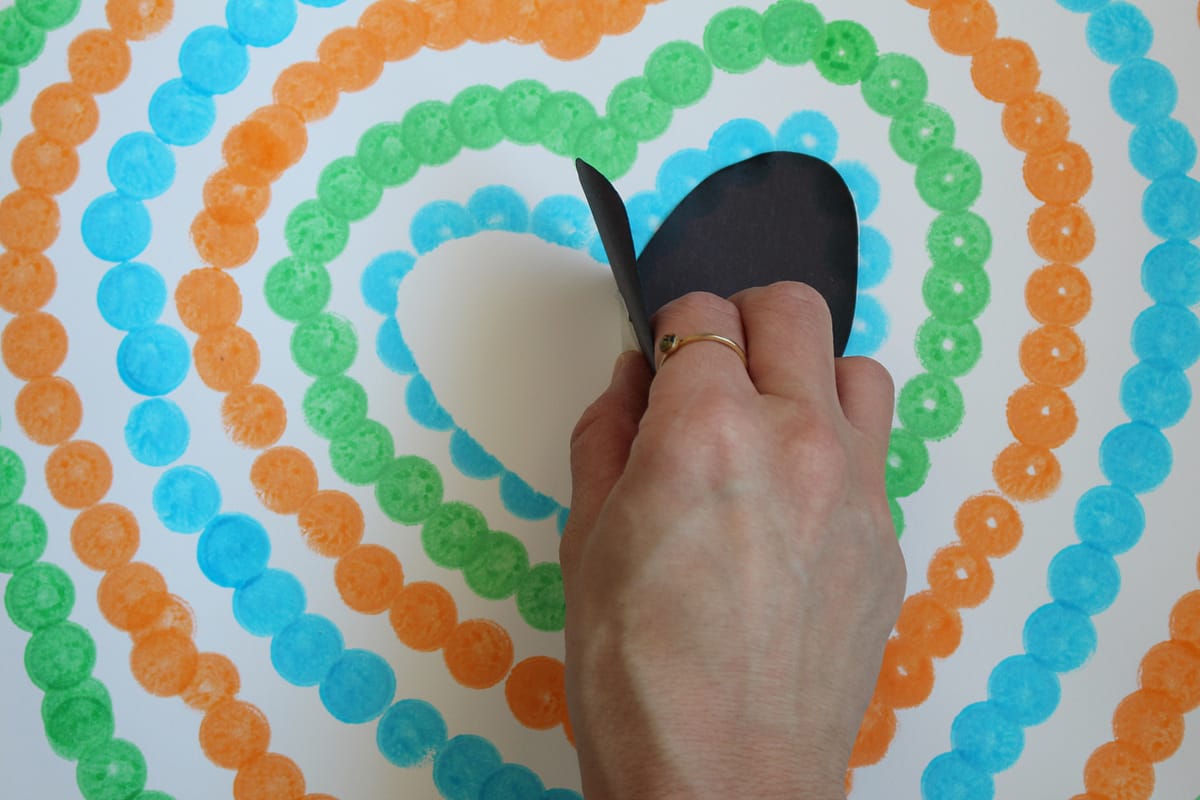
- Use your dot paint marker to make a ring around your shape, half of each dot going onto the shape and half going onto the drawing paper.
- Create a path, or radiating line, around this line. Then create a path around that one.
- Continue creating lines until you have filled the space of your paper.
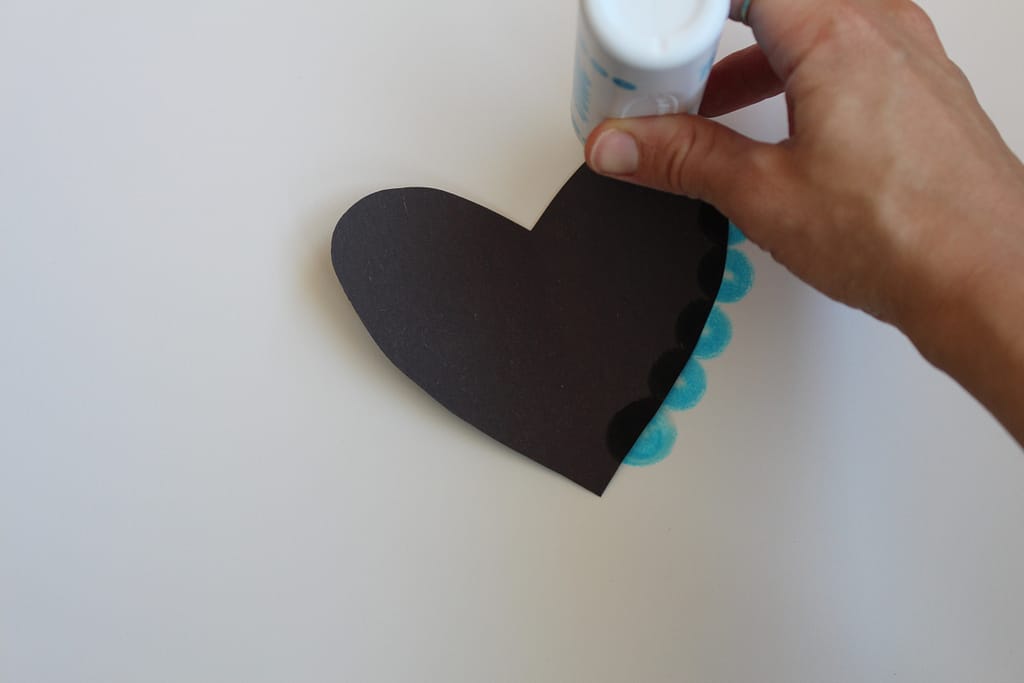
- Remove your construction paper shape and the tape, revealing the shape on the paper created by negative space.


I have a full lesson plan for this project available for purchase here. Download includes all you need to teach this art project, including objective statement poster, a detailed lesson plan, ideas for extending learning beyond the project, a 20 page presentation with photographs of each step and guided discussions on shape and space, a link to a video tutorial, and display signs for artwork.
If you are looking for another heart-themed art project, check out these Symmetrical Heart Paintings.
