This twist on the classic paper snowflake craft for kids will brighten up any winter day!
A lesson on the art element of texture? Check.
A lesson on the math concept of symmetry? Check.
A project that builds fine motor skills? Check.
This twist on the classic paper snowflake craft will brighten up any winter day and so much learning takes place!
Kids will explore the textures found in their environment, paint their creations, and then investigate the concept of symmetry using their scissors.
Here’s how we made these colorful paper snowflakes.
Supplies:
- Coffee filters
- Crayons
- Texture cards or textured surfaces (like brick or tile)
- Watercolor paint
- Paintbrushes
- Water
- Scissors
- Tape and string (optional, for display)
Directions:
- Use your hands to smooth out your coffee filter into a flat circle.
- Place a texture card or a textured surface (brick and tile work great for this!) under the coffee filter. Rub your crayon atop of the filter to capture the texture.
- Paint your filter with watercolor paint to add color and interest.
- Allow the paint to dry entirely before folding your filter. Fold the filter in half, in half again, and then again.
- Use scissors to cut shapes into the edges of your folded filter.
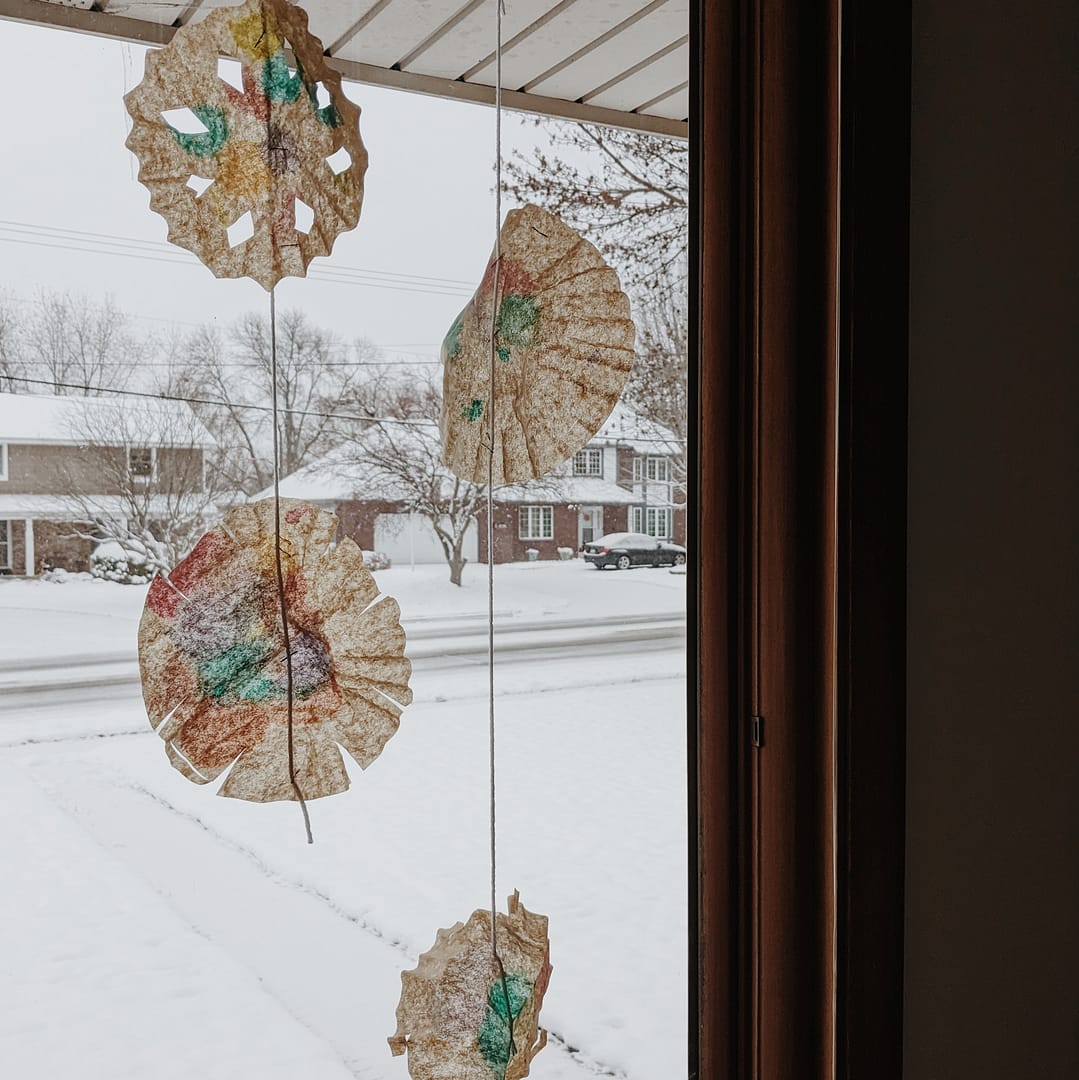
- Unfold your filter to reveal the symmetrical design. A symmetrical design is a design that, when cut in half, is the same on both sides.
- Tape a piece of string to the back of your paper snowflake. Hang for all to see. This project looks especially lovely when it is hung in front of a sunny window!


Looking for another project for kids that explores the art element of texture? Check out this blog post for a free Winter Texture Scavenger Hunt for kids.
Needing more winter activities for kids to keep them busy on these cold, snowy days? Check out this Winter Solstice Activity Pack.
