Explore color theory with your kids through these tissue paper paintings!
Looking for a twist on painting? Then these tissue paper paintings art for you!
This process-art activity gives kids the opportunity to explore color theory hands on. Just by using tissue paper squares.
Additionally, process-based art activities like this one . . .
- develop independence and confidence by encouraging kids to make their own choices
- provide the opportunity to play with color mixing
- develop critical thinking skills and scientific inquiry skills
Here’s how we made these tissue paper paintings.
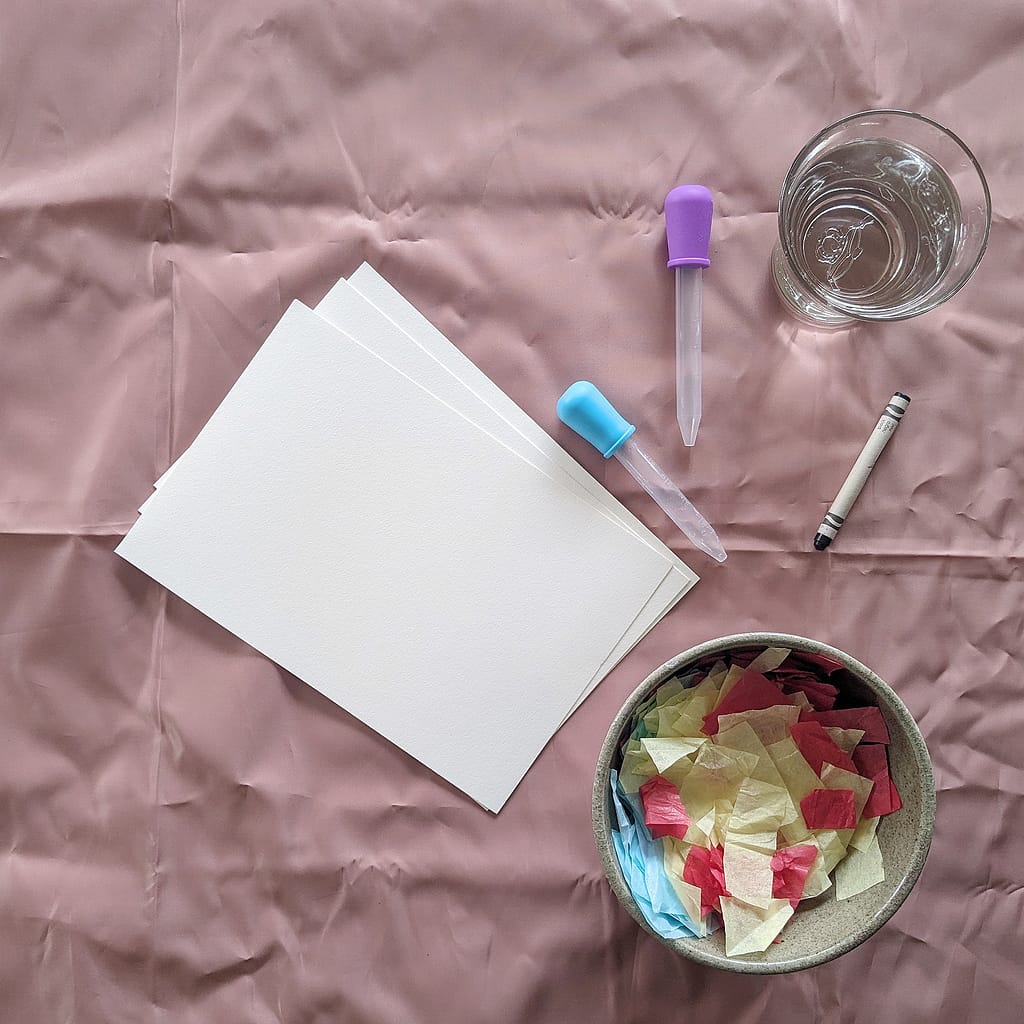
Supplies:
- Heavy drawing paper
- Permanent marker or a dark colored crayon
- Placemat or tray
- Water in a spray bottle or dropper
Directions:
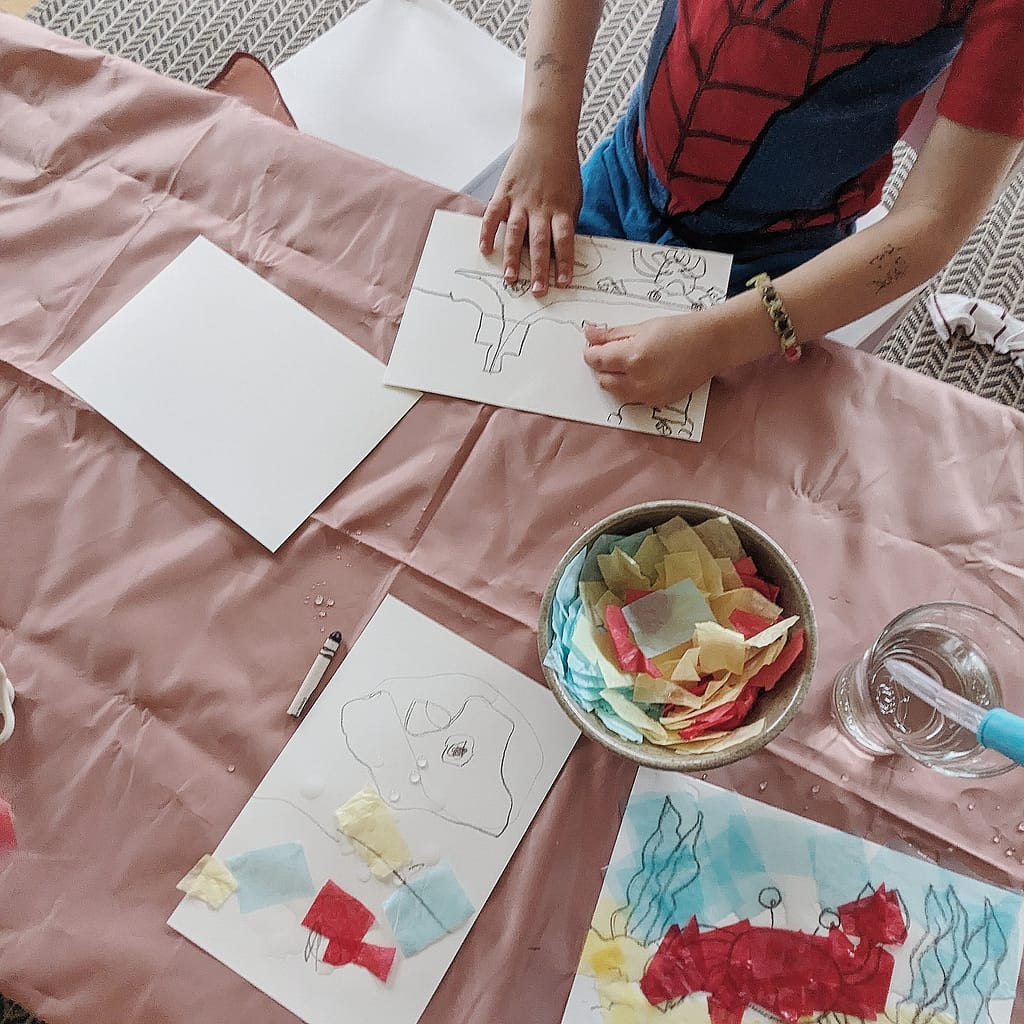
- Use permanent marker or dark crayon to create a drawing of your choice onto a piece of heavy drawing paper.
- Set your drawing onto a tray or placemat.
- Arrange squares of colored tissue paper onto your drawing. Overlap different colors to mix colors.
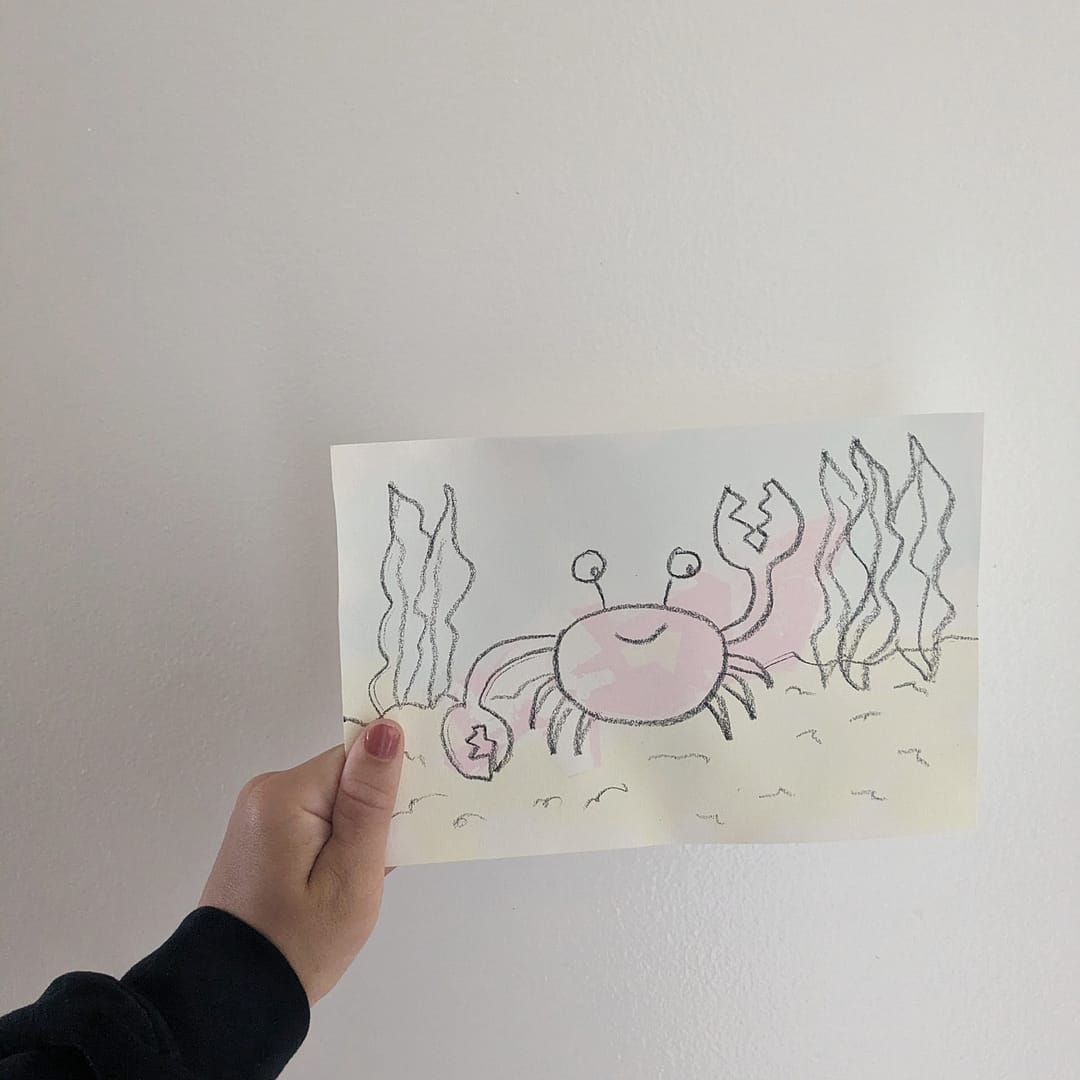
- Use a spray bottle or a water dropper to dampen the tissue paper. The tissue paper will begin to “bleed” color onto the paper.
- Allow your artwork to dry for 24 hours before you remove the tissue paper squares.


Looking for another project that uses this technique? Check out this Chinese Zodiac Animal Arts and Craft Pack. These 12 arts and craft activities to help your little ones learn about the animals of the Chinese Zodiac and Chinese culture. One of the included art projects is a tissue paper painted rooster.
Have extra scraps of tissue paper to use up? Check out this blog post on Tissue Paper Suncatchers. This craft will bring a pop of color to any room.
Happy creating, friends!
