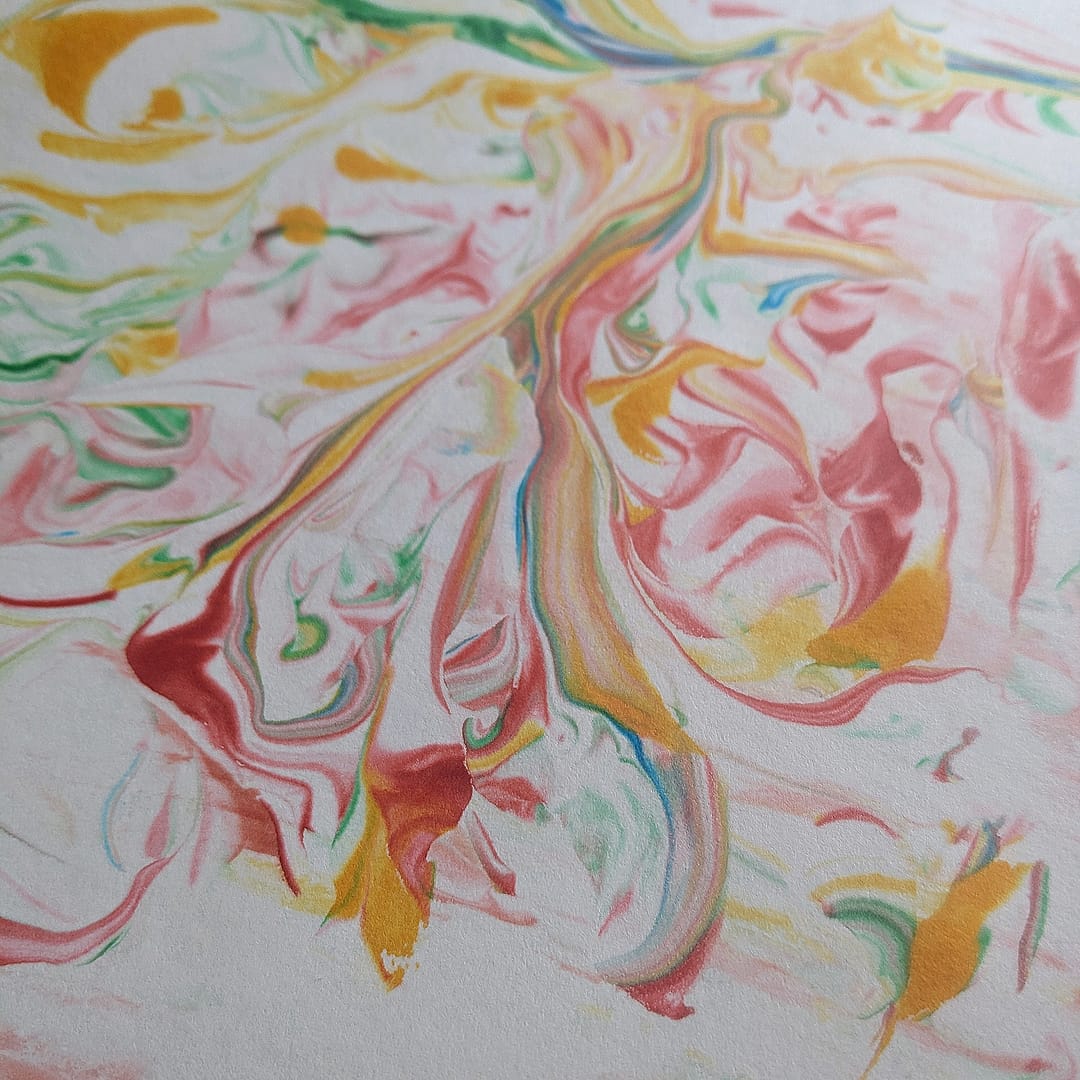
This paper marbling activity for kids uses supplies you probably already have on hand! Kids will be amazed with the results of these shaving cream prints.
Warning: Shaving cream prints can be a bit messy.
But trust me. Any mess created with this art activity is well worth it.
The “wow” factor of paper marbling is sure to captivate any artist.
These shaving cream prints are beautiful on their own, but would also make fabulous additions to collage projects or used homemade cards.
Here’s how we made these shaving cream prints.
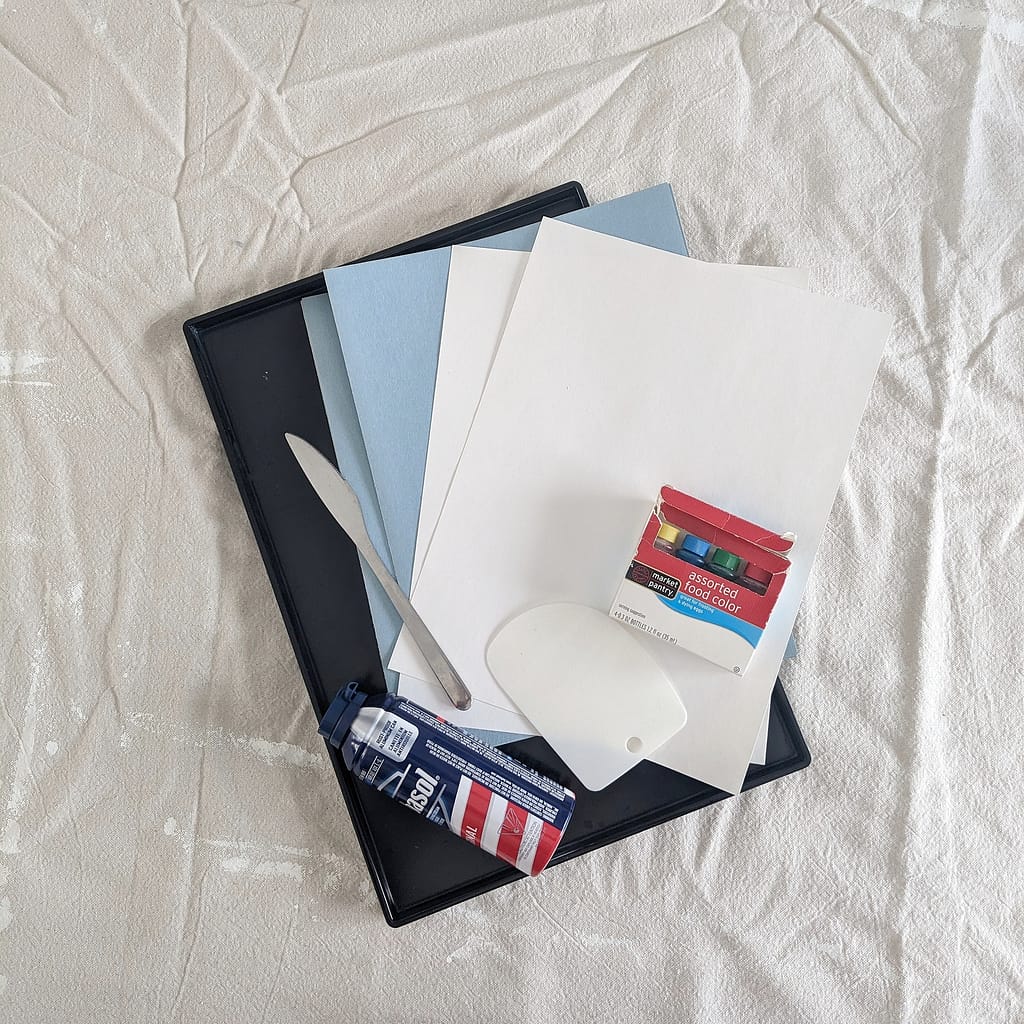
Supplies:
- Cardstock
- Tray or cake pan
- Shaving cream
- Food coloring
- Squeegee, credit card, or a dough scraper
- Butter knife
- Newspaper or a drop cloth to cover your work space (optional, but recommended)
Directions:
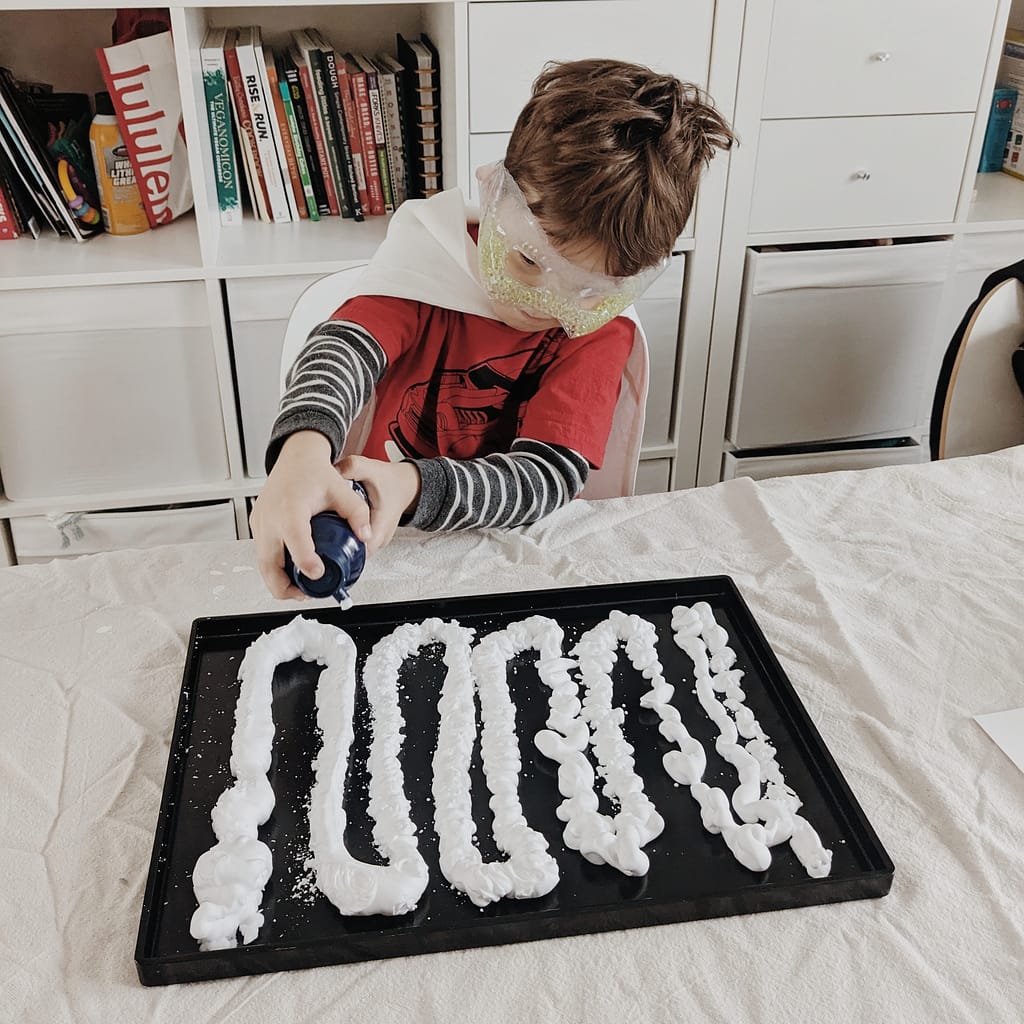
- After covering your workspace with newspaper or a drop cloth, fill your tray with a layer of shaving cream.
- Drop several drops of food coloring onto the surface of the shaving cream.
- Use the tip of a butter knife to swirl around the food coloring in the shaving cream.
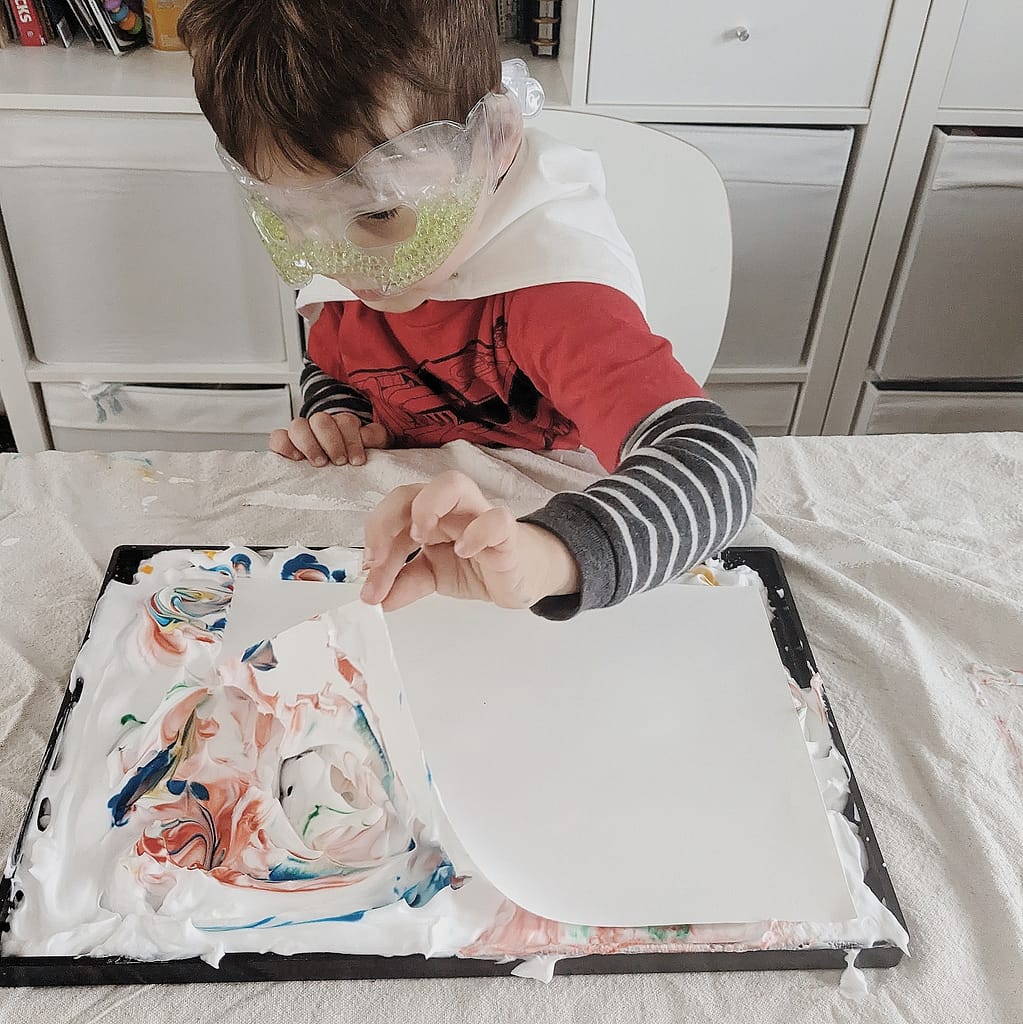
- Lay a sheet of cardstock flat on the surface of the shaving cream. Use your hands to gently press the paper down to ensure contact with the food coloring.
- Peel away the paper from the tray.
- Laying the paper shaving cream-side up on your workspace, scrape away the shaving cream. You may have to wipe off your scraper of choice (squeegee, credit card, dough scraper) as you go along.
- Allow your marbled shaving cream print time to dry.


Looking for another printmaking project to do with your kids? Check out these heart prints created using paper towel rolls.
Looking for a collage art project to use this printed paper in? Check out this lesson plan for a collage art project. The printed paper would make a lovely accent.
Happy creating!
