This recycled art project is not only a way to reuse a plastic container, but introduces and explores the concept of color mixing.
This easy craft is not only a way to reuse a plastic container, but introduces children to the concept of color mixing. Kids will naturally explore color mixing as the tissue paper squares overlap and as light pours through the plastic container.
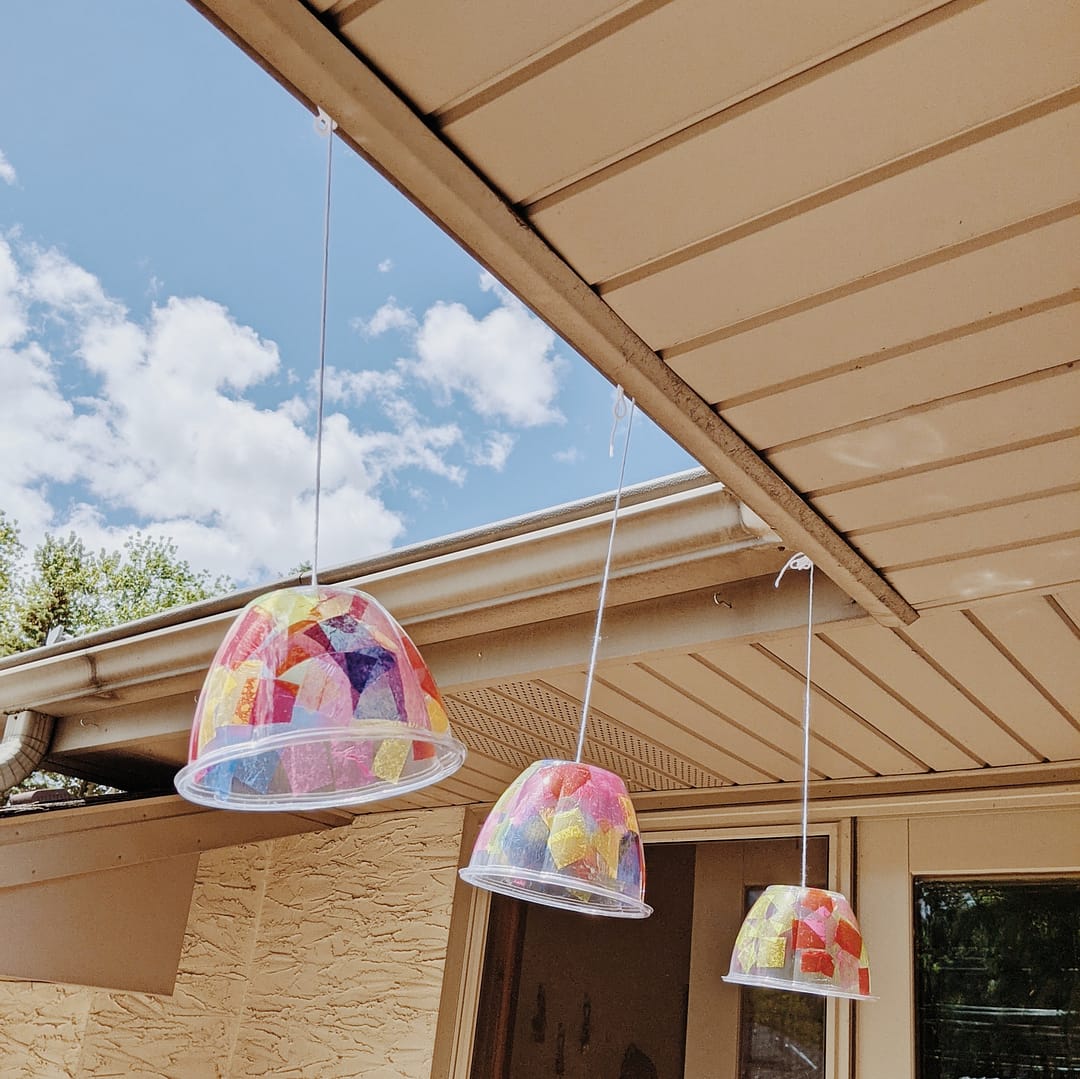
Here’s how we made these gorgeous plastic color lanterns.
Supplies:
- Modge podge or liquid glue
- Paintbrush (large bristled works best)
- Plastic bowl or other recycled container
- Sharp nail or awl*
- Squares of tissue paper in a variety of colors
- Length of yarn or string
*As with any project posted on my blog, this craft is intended to be done under adult supervision
Directions:
- Use your paintbrush to apply a thin layer of modge podge or liquid glue to the interior of your plastic container.
- Arrange your tissue paper squares onto the wet adhesive.
- Once you have finished applying tissue paper, paint a thin layer of modge podge or glue on top of the tissue paper layer.
- Allow your lantern to dry entirely.
- When your lantern has dried, use the nail/awl to pierce a hole into the center bottom of the plastic container.
- Thread your yarn or string through the hole.
- Tie a knot in the interior of the container to secure the string.
- Hang your lantern and enjoy!


Looking for easy, low-prep ways to teach your young child about color? You may be interested in this Element of Color Activity Pack.
Looking for another recycled art project to do at home? Read this blog post for directions on making your own paper bouquet using recycled paper rolls and few other simple materials.
