Celebrate the beauty of the moon with this easy, less-mess painting project for kids!
Have you tried marker painting with your kids yet?
This is hands-down my favorite painting technique to use with little artists.
It yields the most beautiful results, all while teaching brush control, giving children the opportunity to explore the property of markers, and is NOT messy.
Here’s how we used the marker painting technique to create paintings of the moon.
Supplies:
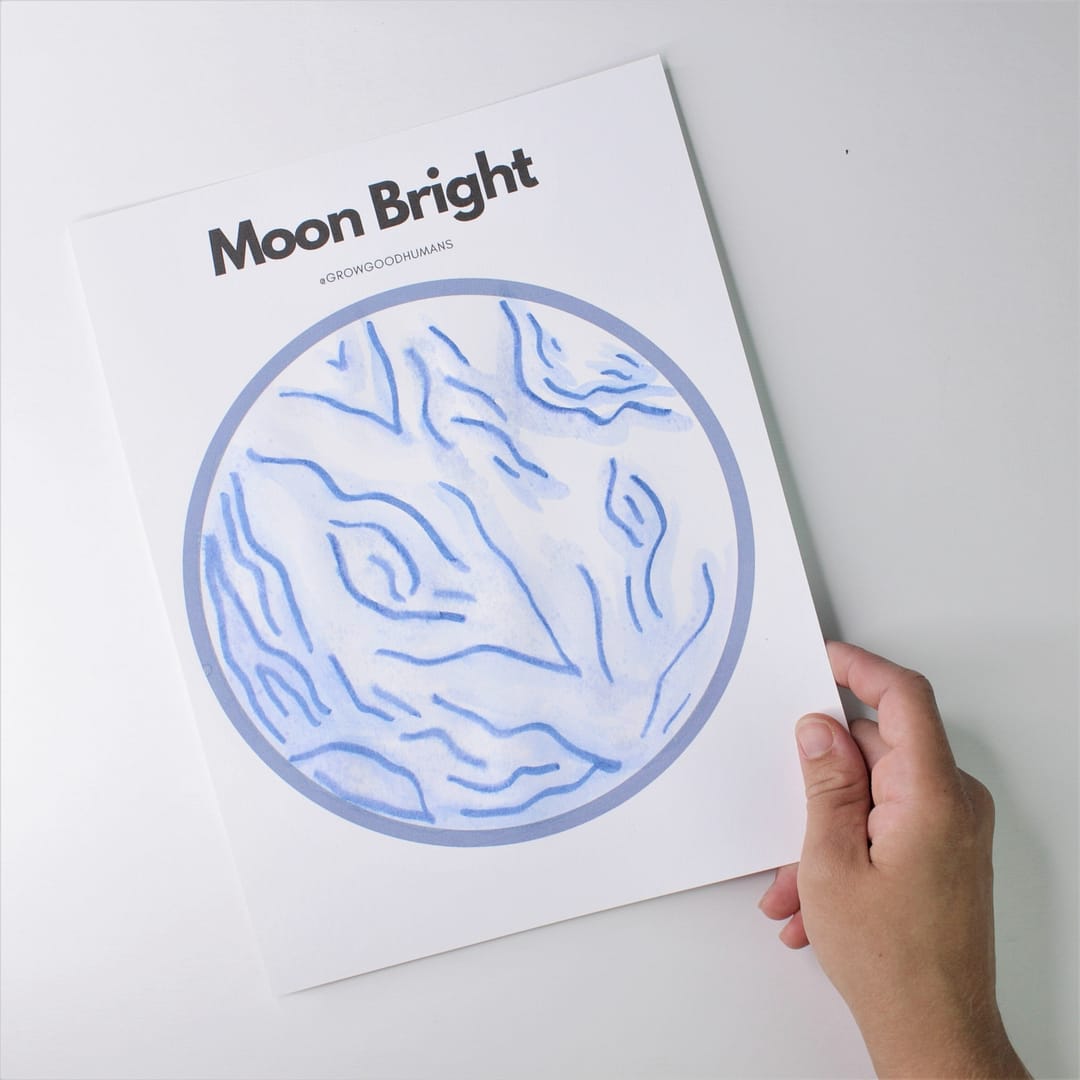
- Printable Moon outline (download for free here)
- Cardstock
- Washable markers
- Paintbrush
- Dish of water
Directions:
- Print off a copy of the Moon Painting Outline onto card stock (copy paper will not work for the marker painting technique used in this project). If you don’t have a printer, you could simply use a permanent marker to draw the outline of a circle.
- Use washable markers to slowly outline the inside of the Moon outline and add texture and craters. It is very important to only draw lines, rather than fully coloring it in.
- Dip a paintbrush into water and apply the water to your washable marker in a controlled way. The water will transform the marker into paint. A little bit of water goes a long way!


I recommend only using one marker for this painting project (either blue or black), but feel free to experiment and using more colors. It would be a great activity for kids to experiment with color mixing if you are using multiple colors.
Loved marker painting and want more? Check out these other art projects for kids that make use of the technique:
- Pumpkin Marker Painting for Kids
- Garden Marker Painting for Kids
- Bamboo Forests (Inspired by Qi Baishi) Marker Painting for Kids
