These dried flower pinch pots are a simple and stunning clay project that your kiddos will love!
These dried flower pinch pots will cut out the work, stress, and mess associated with clay and leave you with just the magic.
Truthfully, I have a love/hate relationship with clay. It can be stressful and messy.
However, kids are so incredibly engaged during a clay project and so excited about their final product that a clay project is worth the work. I promise.
Might I add that it can be done in an hour or less? Win-win.
Here’s how we made these dried flower pinch pots!
Supplies:
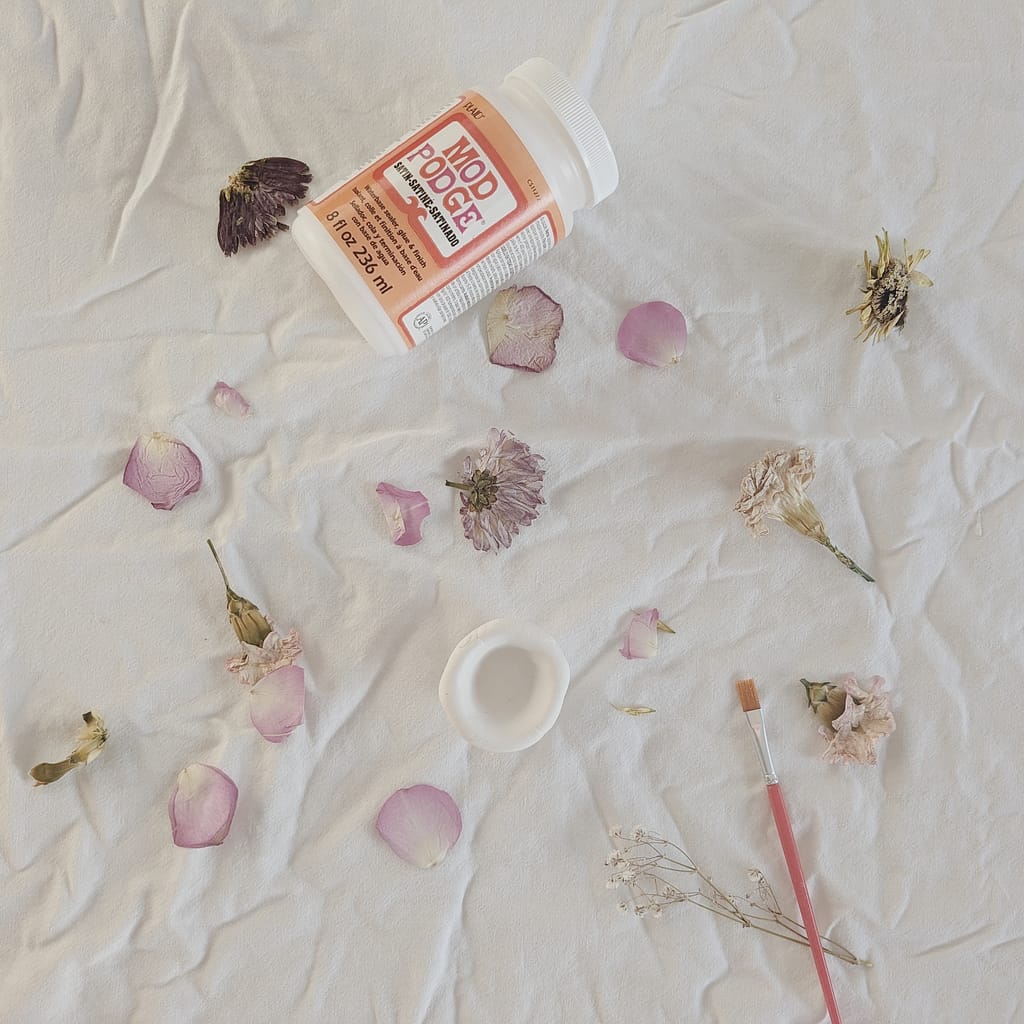
- Airdry clay
- Modgepodge
- Pressed flowers or leaves
- Paintbrush
- Placemat (optional, but recommended)
Directions:
- Roll your piece of airdry clay into a ball.
- Make a hole in the center of your clay ball. You want to leave the bottom of your clay about the thickness of your finger. Make sure you do not go through the bottom of the clay. Closing your eyes can help you sense the thickness of your clay.
- Stick your thumb into the hole in your clay ball. Use your other fingers to pinch the walls of your clay ball.
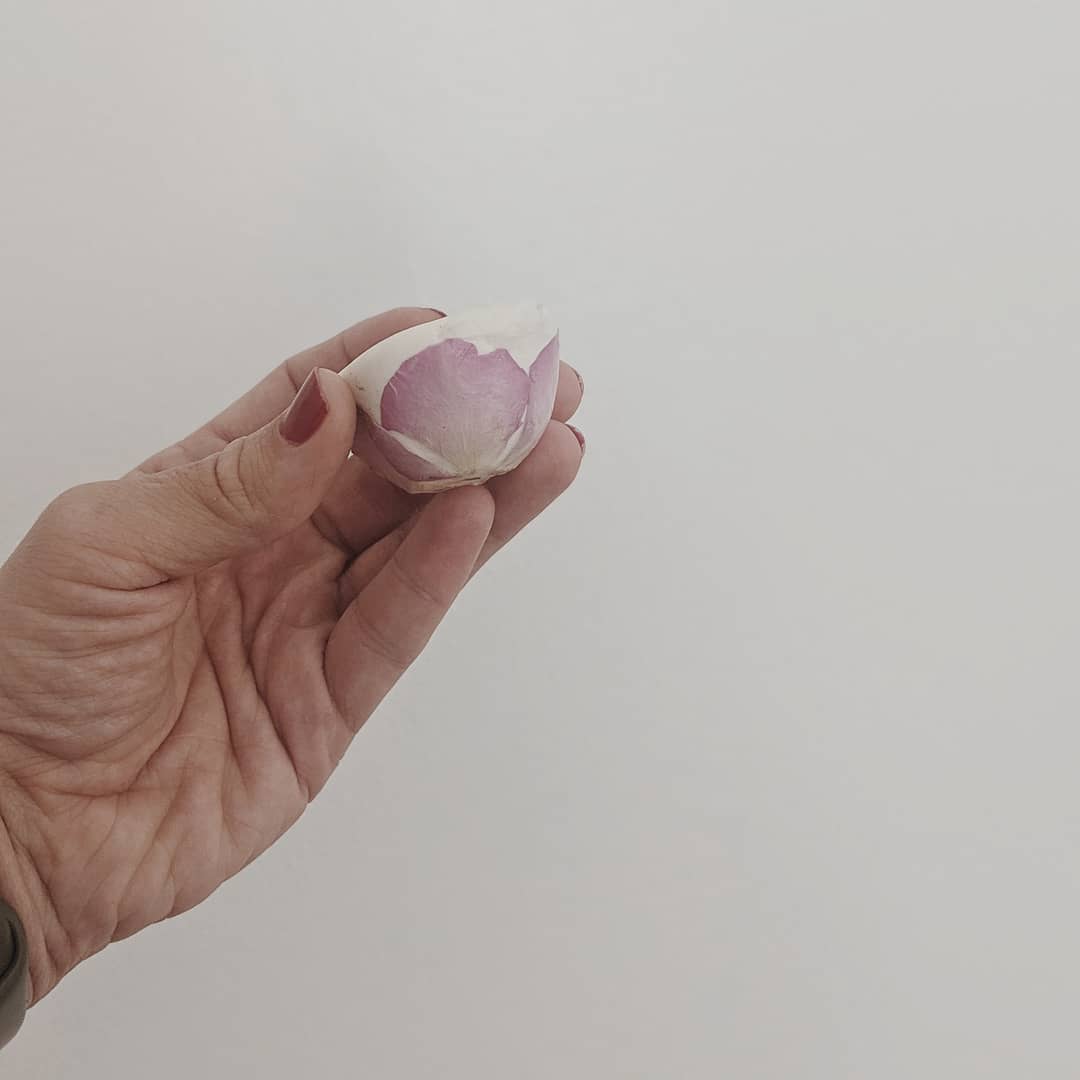
- Once you have created a pot with evenly widened walls, arrange dried flowers and leaves onto the outside and inside of your pot.
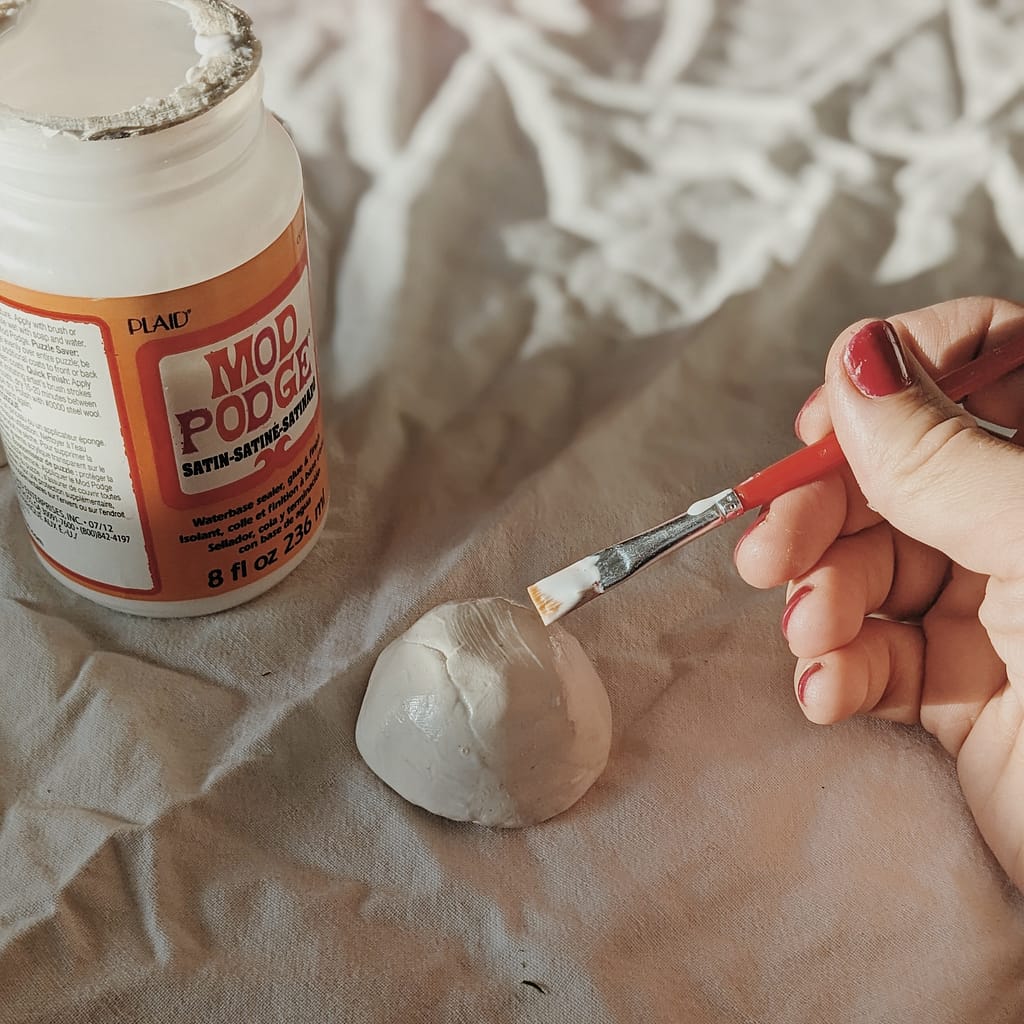
- Seal the dried flowers/leaves in place with a thin coat of Modgepodge. Allow to dry a bit and then add a second layer.
- Allow the pinch pot to dry for 48 hours or so until set.


Searching for another kids’ craft that uses airdry clay? Check out this tutorial for Seed Mandalas. Often times, clay activities can be messy and time consuming. This clay activity is NEITHER of those things.
Interested in a full lesson plan for a clay project? This lesson plan for Pinch Pots Inspired by Maria Martinez is my favorite clay lesson to use with kindergarten and first grade artists.
Happy creating, friends!
