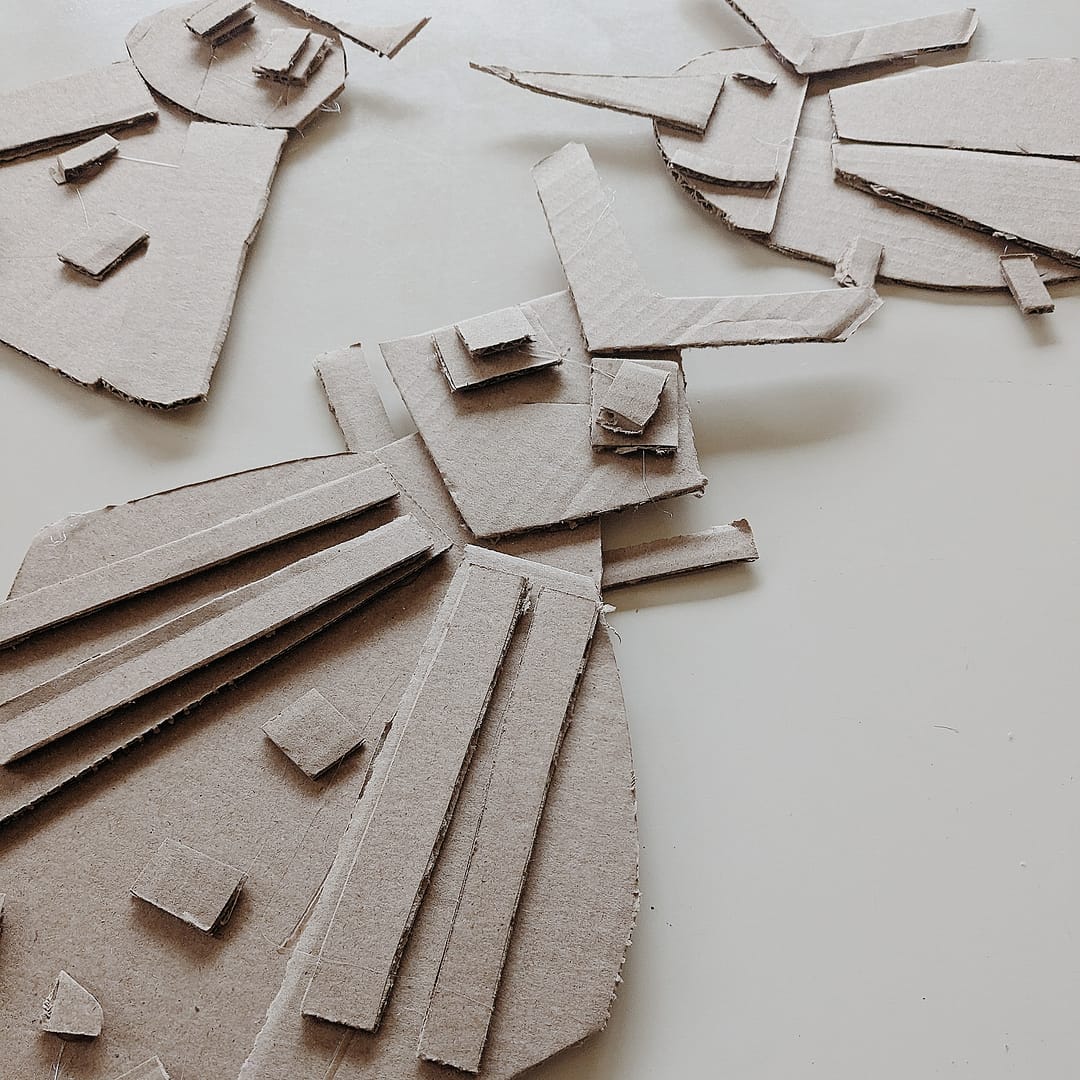
Explore shape and symmetry with these big cardboard bug collages!
If you want to make a project more exciting for kids, there are two easy tweaks that can be made: make the project super big or make it super tiny.
In this bug collage for kids, I went with the former. And it did not disappoint.
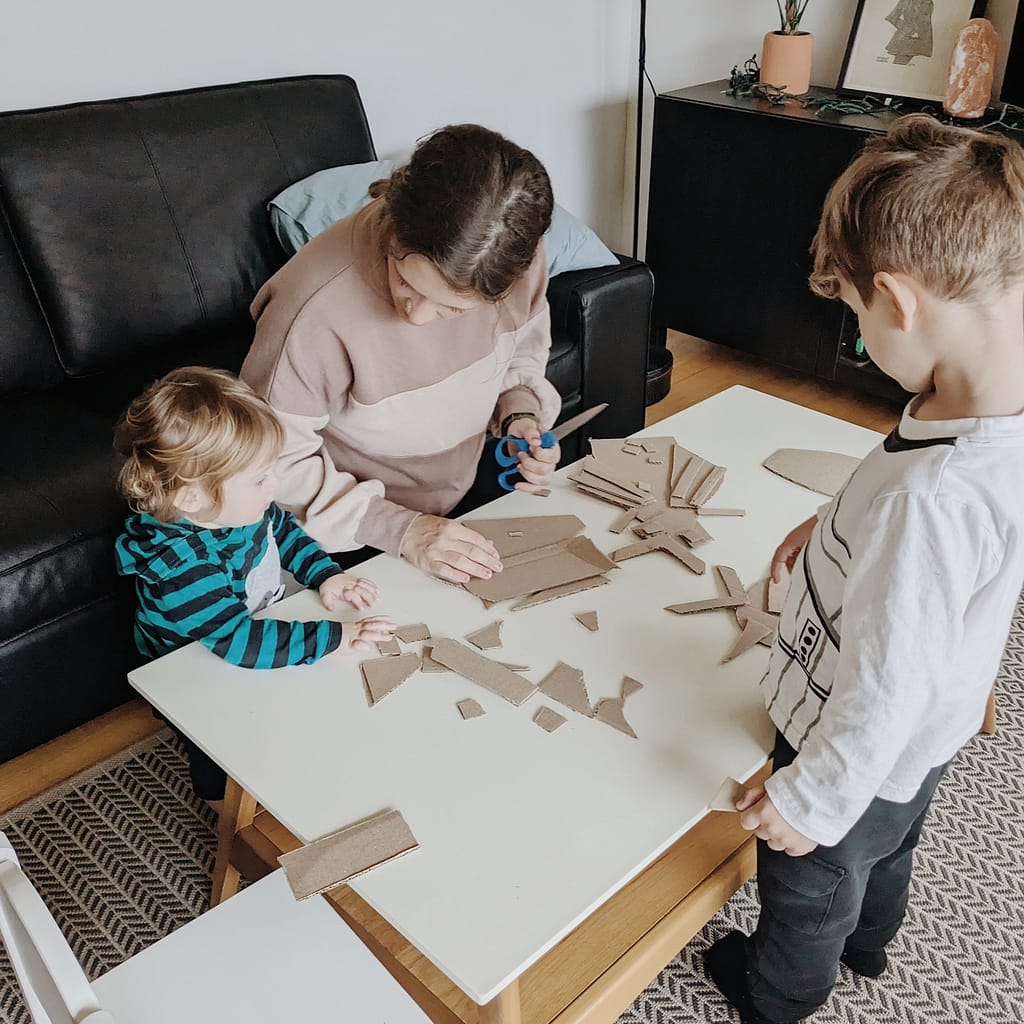
Not only was the idea of making a GIANT bug exciting for my kids, but it was also easier to meet varying motor skill abilities. This project would be a great way to accommodate children with delays in fine motor skills. You simply have to vary the sizes of cardboard shapes that you provide.
This bug collage project was a fun way to discuss the concept of symmetry and the different parts of a bug’s anatomy.
Here’s how we made these big bug collages.
Supplies:
- Cardboard
- Scissors
- Liquid glue or hot glue* (all projects shared on this blog are intended to be done under the supervision of a trusted adult)
- Pencil (optional)
Directions:
- Use a pencil to draw the outline of a bug’s body onto the cardboard. Simple is best!
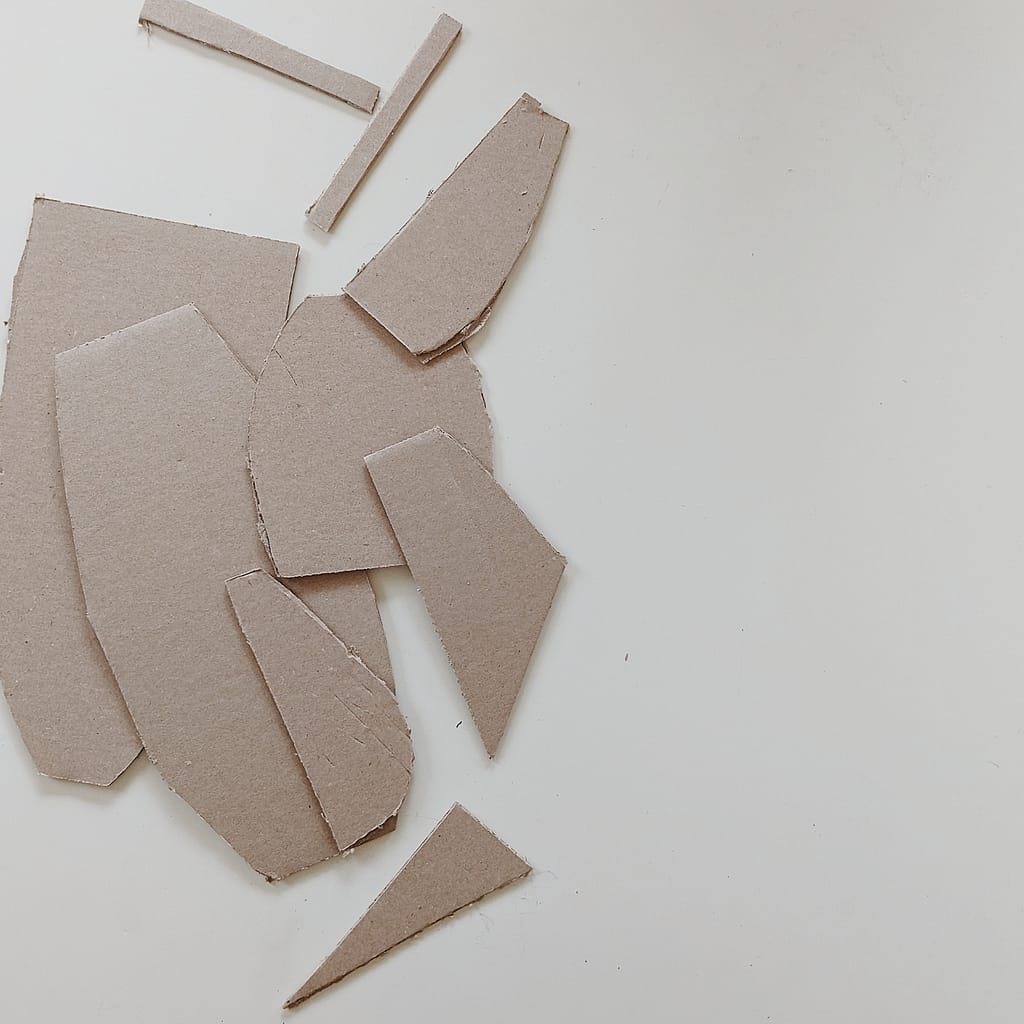
- Cut out (or if your child has the ability to cut through thick cardboard) various shapes out of cardboard. Vary the size and shape of your cardboard pieces.
- Assemble the cardboard shapes to create a collage of an insect. Think about creating symmetry (the bug being the same on both sides) and having the body parts of an insect. Does your bug have six legs? Antennae? Wings?
- Once you are happy with your arrangement, glue your cardboard pieces in place. Results are best when you work from the bottom of your collage to the top.


Looking for another bug-themed activity? Check out this blog post on creating bug fossils with clay or play dough. These fossils are simple to make and will lead to conversations about what life was like long ago.
Needing another art project to teach the concept of symmetry? Check out this free lesson plan for Symmetrical Botanical Suncatchers. With a focus on symmetry, this lesson is a great opportunity to integrate math and art.
Happy creating!
